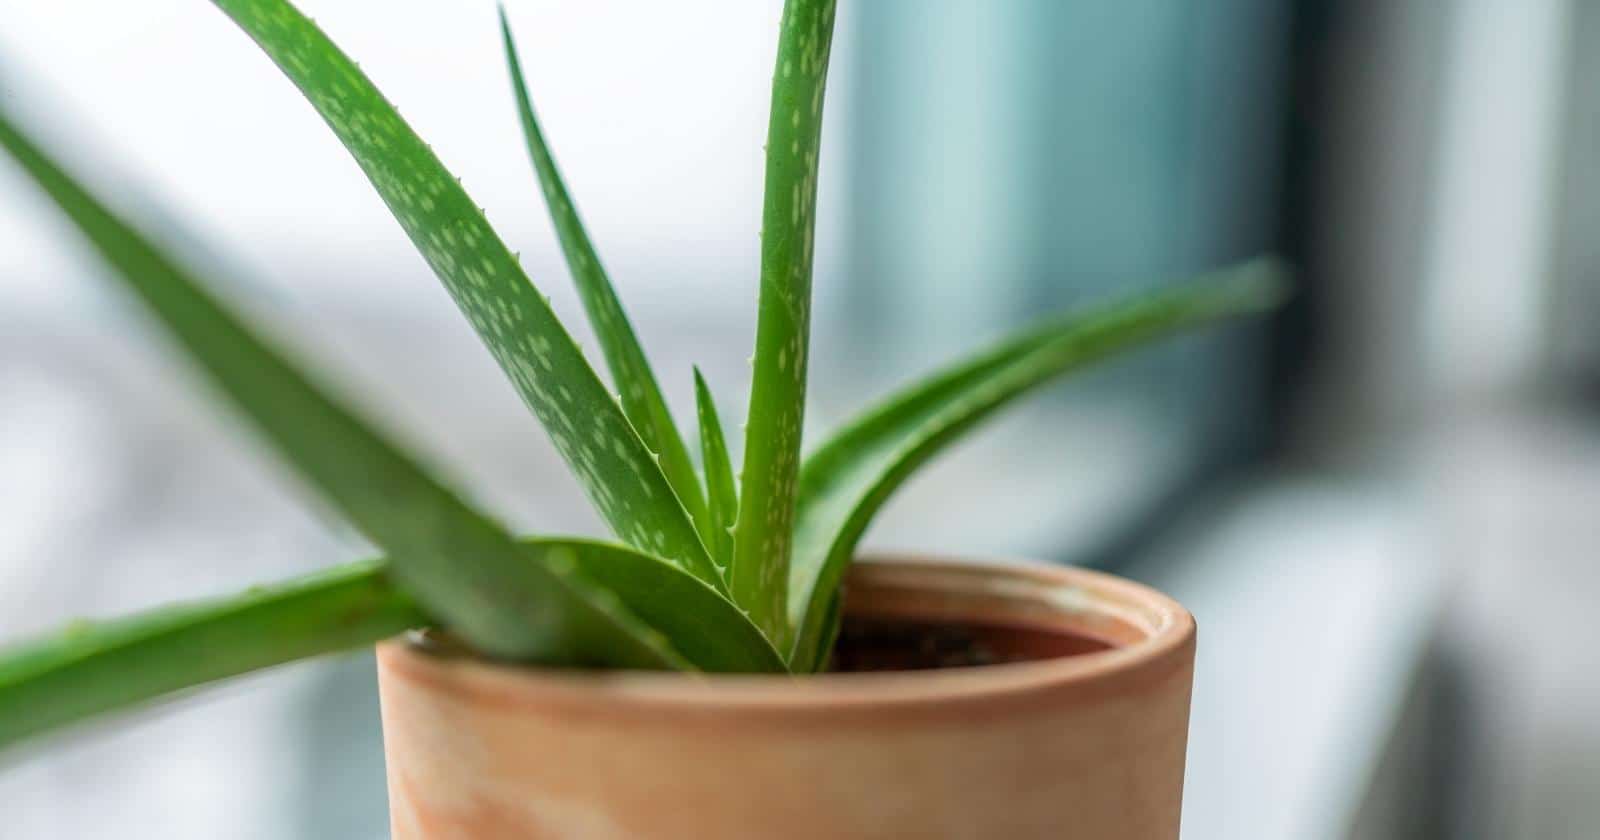
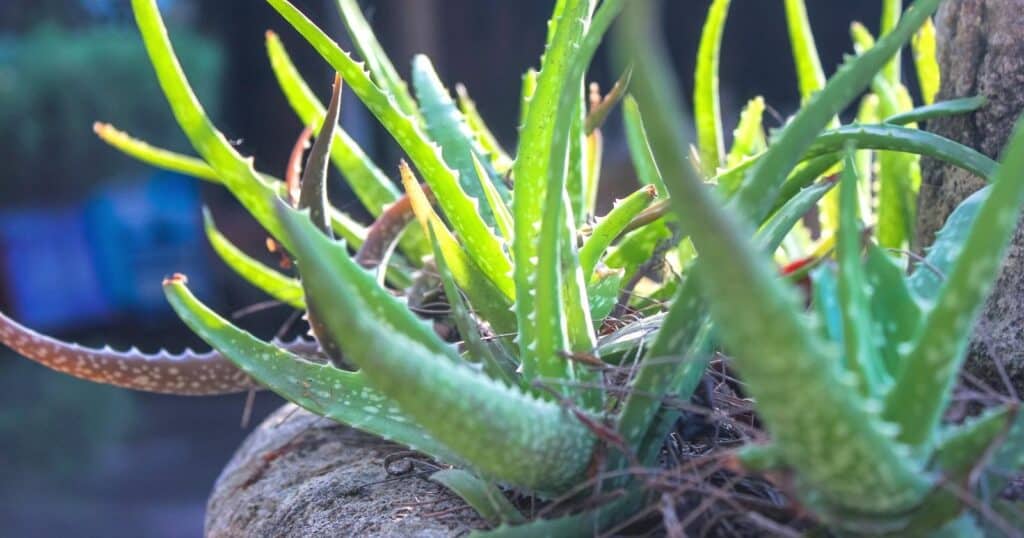
For some reason, many people find the act of repotting a plant to be rather traumatizing to both themselves and the plant in mind. The idea of literally uprooting a plant from its pot, teasing the girdled roots from what may look like a massive rat’s nest, trimming broken or outstretched leaves can certainly induce a little fear.
In all honesty, repotting a plant that truly needs it is far better in the long term than keeping it in the small, cramped pot it’s outgrown. Plants that become pot bound, the term used for plants who have outgrown their current pot, often become stressed for water and nutrients because there is not enough good soil to support the plant as a whole. Stressed plants are a prime target for insects and diseases.
The longer a plant is stressed, the overall growth of the plant will be impacted for the rest of its life. Below are some tips regarding repotting aloe vera. Some of the suggestions can easily cross over to other succulents and cacti as well.
Determine if You Need to Repot Your Aloe
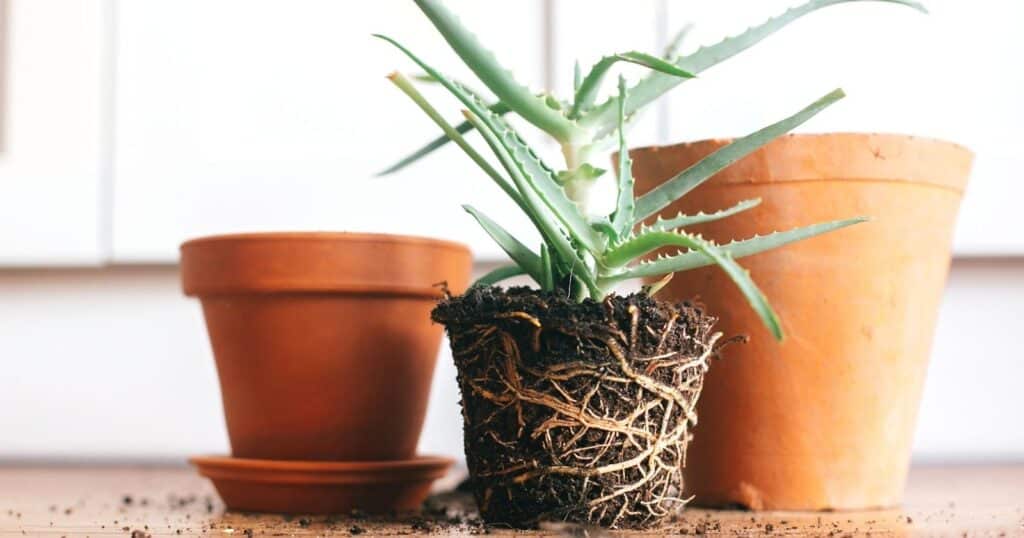
First and foremost, determine whether or not your aloe needs repotting, or if other general maintenance can suffice. Some criteria for repotting would include: roots coming out the bottom of the current pot, soil drying out very quickly, water running straight through the current soil/pot, you haven’t seen new growth in a while, overall plant looks dull and lackluster and/or symptoms of root rot are present.
Can you answer yes to any of the above questions? If so, then repotting your aloe in a new container with fresh soil should fix your aforementioned problems.
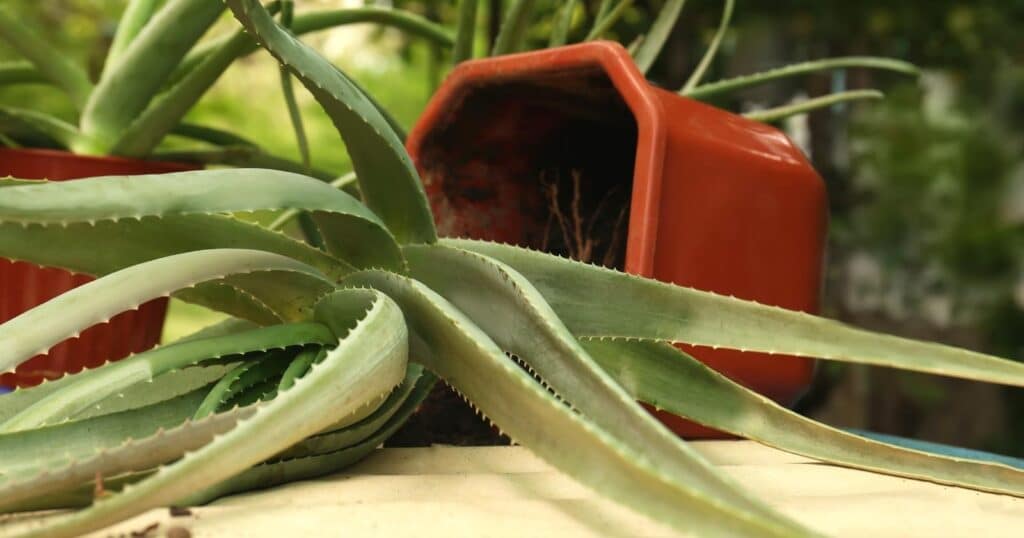
Another instance that warrants repotting would be if the current container gets broken or cracked. Soil and water will come out of most cracks and broken pots, creating a mess. Broken pots also prevent you from thoroughly watering your aloe plant. The water will take the path of least resistance and exit the pot faster than the plant can take it up. Cracks can expose roots to excessive amounts of air as well. This will cause them to dry out quickly or even die off.
It’s best to repot an aloe plant prior to a period of growth. Since aloe goes dormant in the summertime, repotting in the early fall is ideal. When dormancy breaks, nutrients and water are going to be used the fastest, and having fresh soil will assist in that uptake process.
Select Correct Pot Size
When you repot any houseplant, it is important to select the correct container size. Generally speaking, if your space allows your aloe plant to get larger, you would select a pot that is one size bigger than its current pot. So if you bought a small 2” pot of aloe, the next size up in pots is 4”.
If you are limited in space for your aloe to grow, but would like to repot it, you can place it inside a pot the same size as the original pot. But, you will need to do some pruning of both the leaves and the roots before replanting in the same diameter pot.
It may be tempting to place your aloe in a large pot, but resist the urge to do so. If a pot is too big, the shape and health of the aloe plant can quickly go south. Many times, plants that are in pots that are too large will begin to stretch out and become weak in structure. This will lead to a greater chance of bending and breaking of the leaves and stem. A container that is too large will hold more potting soil than what the aloe needs. More soil can hold more water, and with aloe preferring well drained, drier soil, overwatering damage and root rot can happen rapidly.
If you find a pot that is too large for one aloe vera plant, consider planting multiple plants within one pot. Because all the plants will need water, the risk of soil remaining too wet is diminished. This is due to more plants requiring water to survive in that small area. Another added bonus to multiple plants in one pot is the overall appearance of the pot is fuller. It will also be more visually appealing.
Select Correct Potting Medium
Aloe vera likes well draining soil. The best way to provide a preferred soil profile is to use a commercial potting soil mix. You can find soils specifically formulated for cacti and succulents.
These cacti and succulent soils have a combination of biodegradable materials that provide both nutrients and some water holding capacity. Usually materials like compost, humus, peat moss or composted manures are used in this portion of the mix.
The next portion of the soilless mix is some sort of large, inorganic particle that will allow for great drainage. Items like sand, pumice and perlite, or a combination of the three, are common ingredients for the pore space component.
You can make your own cactus mix. Just make sure to keep the organic materials at ⅓ of the mix, with the rocks and sand composing ⅔ of the mix. If you have a large succulent collection, it may be more economical to purchase each of these ingredients to mix your own soil. However, if you only have a few succulents, buy the premade mix, saving money and storage space for other things.
When it comes time to actually repot your aloe and other houseplants, wet your potting mix prior to potting up your plant. Items like peat moss are naturally hydrophobic, meaning they repel water. Unless you get peat moss wet ahead of time, instead of being a storage area of water for the plant, the water will run off the peat moss. This makes the water unavailable for the plant to absorb. Simply add your potting mix to a small plastic tub and add some warm water. Then begin to knead the soil similar to dough. This incorporates the water into the peat moss.
How much water depends on how dry the soil is to begin with. I recommend adding water, mixing it in and then grabbing a handful and squeeze. Does water drip out from your hand like you’re wringing out a washcloth or towel? Too much water. Does the handful of soil stay intact for the most part, but easily crumble once you start moving your fingers? Just right.
Drainage
Your new pot must absolutely have drainage holes in the bottom of it. Otherwise, the water will accumulate inside the pot. Then, the plant’s root will begin to drown, eventually resulting in rotten roots and plant death.
There are a few items you can place in the bottom of your pot to keep soil from coming out the drainage holes while watering. Placing items such as a small piece of window screen, shards of broken pots, or stones in the bottom of the pot over the drainage holes will allow water to come out while holding soil in.
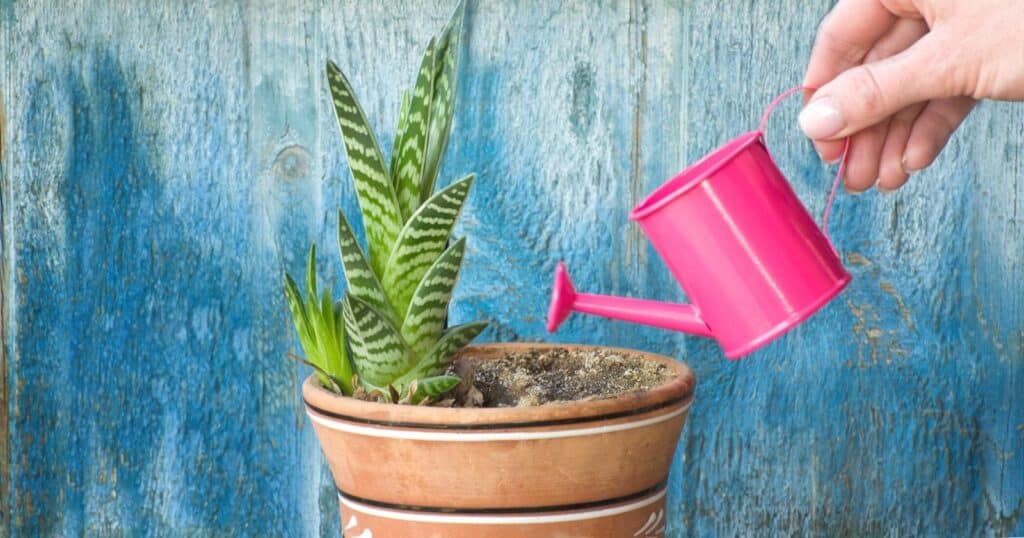
When you water your aloe, take it to the sink, if it’s small enough to do so. That way when you water thoroughly, excess water can go right down the drain. You can also water your aloe vera via a saucer. The saucer will act as a reservoir of water for the plant to absorb, but also keep water from getting on furniture, window sills or the carpet too. When the entire soil profile is wet, discard any remaining water in the saucer.
Actual Repotting
Now its time to begin repotting.
- First, invert your aloe vera plant so it is upside down.
- Gently remove the old pot, wiggling back and forth if necessary. Set the old pot aside.
- With your aloe plant upside down, observe the root system.
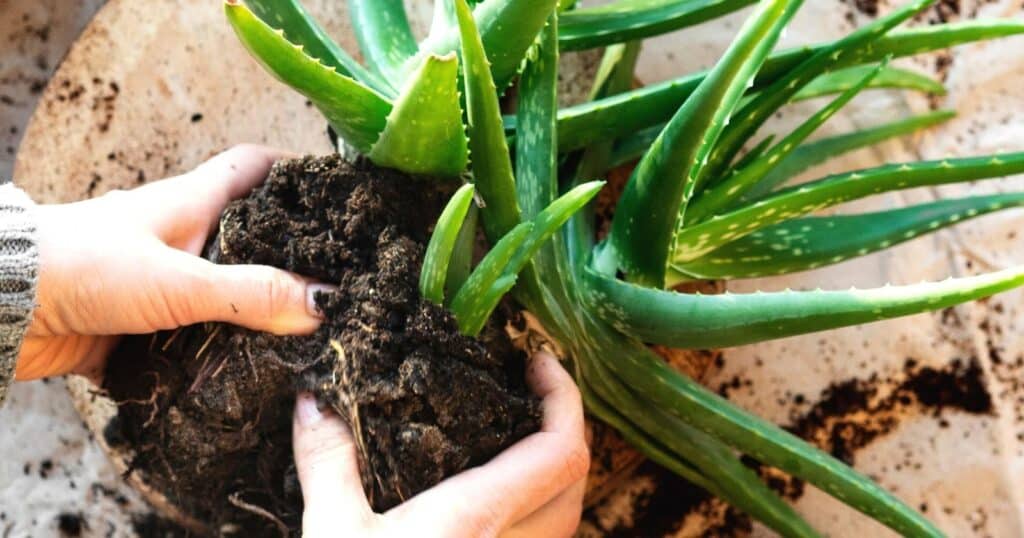
- If the roots are very tangled, gently pull the roots apart to help separate them.
- If the roots are really tight, you may need to take a clean pair of pruners, pocket knife or other clean, sharp gardening tools and make vertical slices into the root ball to help loosen the roots. Then carefully pry the roots open, leaving as much soil intact on the roots as possible.
- In your new, clean container, cover the drainage hole with your item of choice (pebbles, shard of broken pottery, window screening)
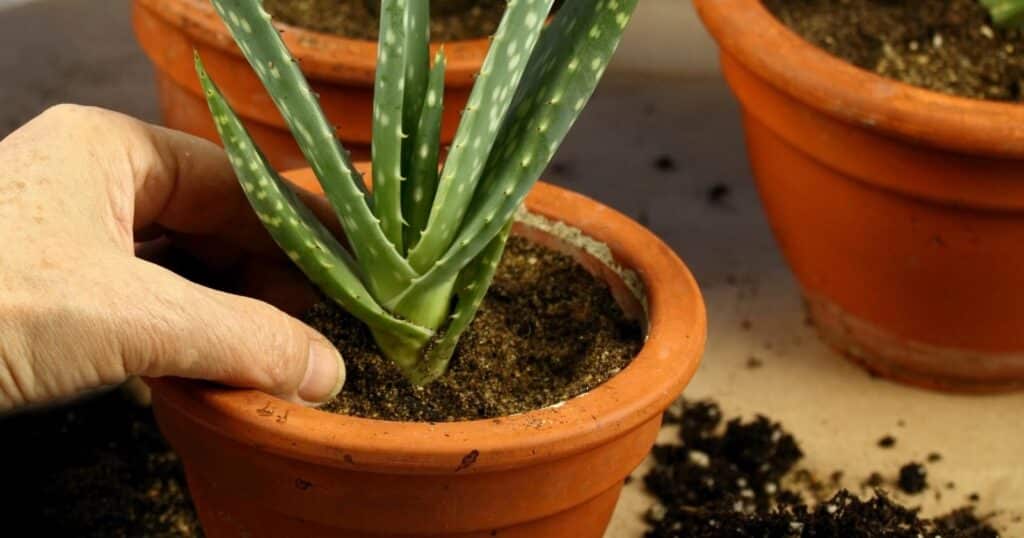
- Place a small amount of dampened potting mix into the pot, about 2” in depth.
- Set your aloe plant inside the pot, roots down, to check the planting depth.
- If the previous soil line is above the pot, remove some of the 2” of bottom soil.
- If your plant is too low in the pot, add some additional potting mix.
- Once proper planting depth is reached, again place your aloe plant root side down, into the new pot.
- Begin backfilling the pot in with additional damp potting mix.
- You can gently tap the pot on the work surface to settle soil around the plant roots.
- Leave about ½” of head space at the top of the pot for watering.
- Carefully push down the soil surrounding the roots.
- Some of the soil may compress down and that’s okay.
- You can add additional soil if needed.
- This tamping down of the soil will help stabilize the plant in its new pot.
Water Thoroughly
After you’ve finished potting up your aloe plant in its new pot, be sure to water the plant thoroughly. You want to make sure that the soil is in direct contact with the roots.The damp soil can also be tamped down or pressed down with your fingers
This watering will also ease any transplant shock your aloe goes through while adjusting to its new pot and soil.
Place Back into Original Location

If possible, place your aloe plant back in the location it originated from; same window, same spot on the table and so forth. The plant is already transitioning to its new pot so moving it to a new spot with different light levels or other environmental differences can add stress to your plant.
Wrap Up
Repotting shouldn’t be scary. It is a necessary step in keeping your aloe vera healthy. With the proper pot, soil, drainage and potting depth, any errors can be easily corrected with minimal damage. And if you are to make a mistake, your aloe is very forgiving and will forge on..thanking you for your time and effort with signs of new growth from its new and improved living conditions..

Leave a comment