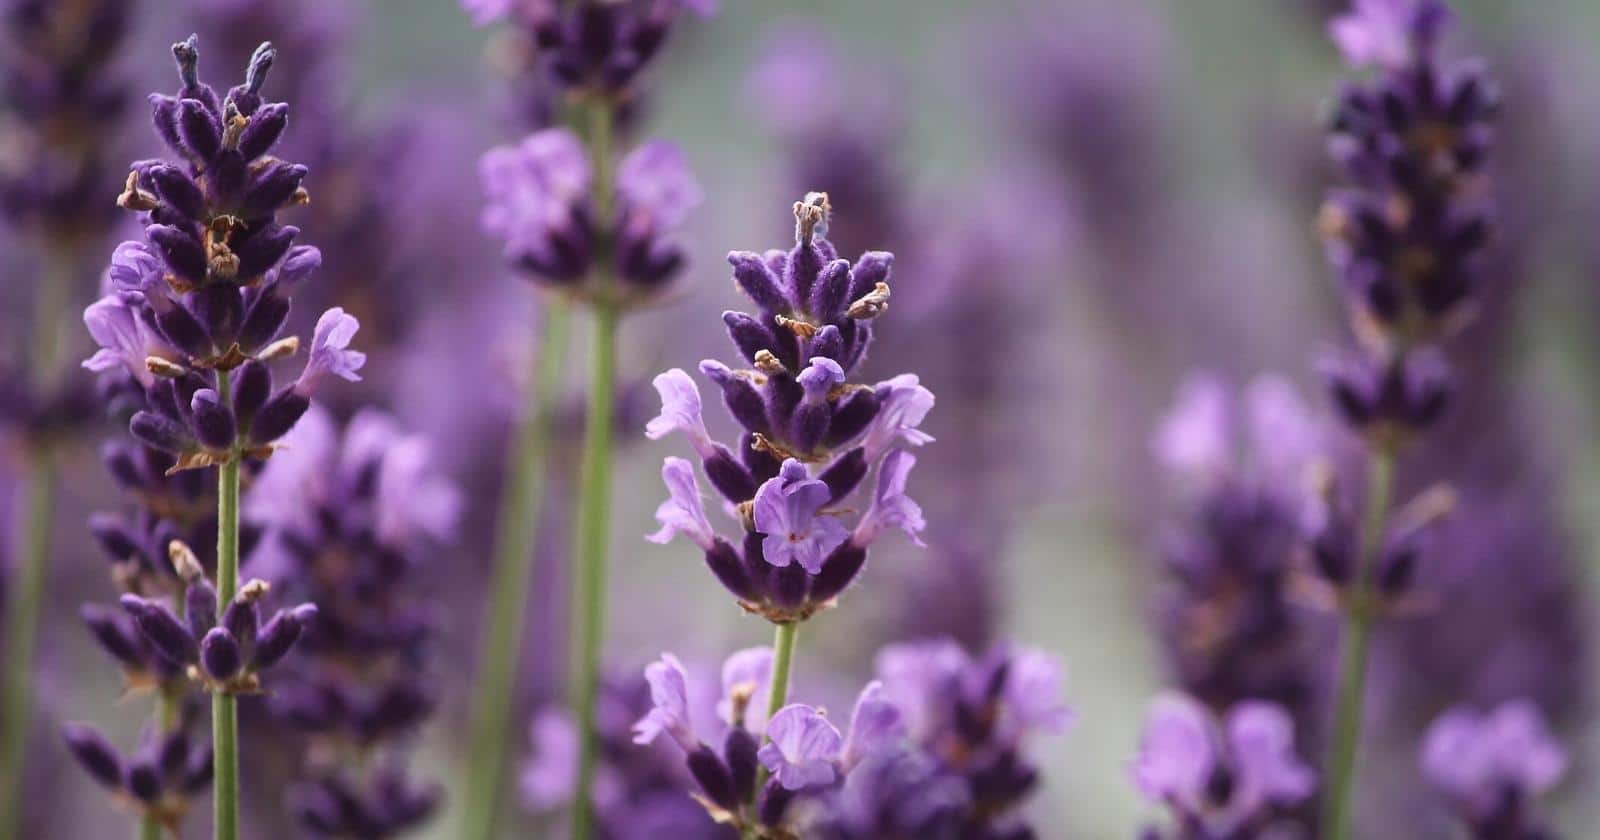
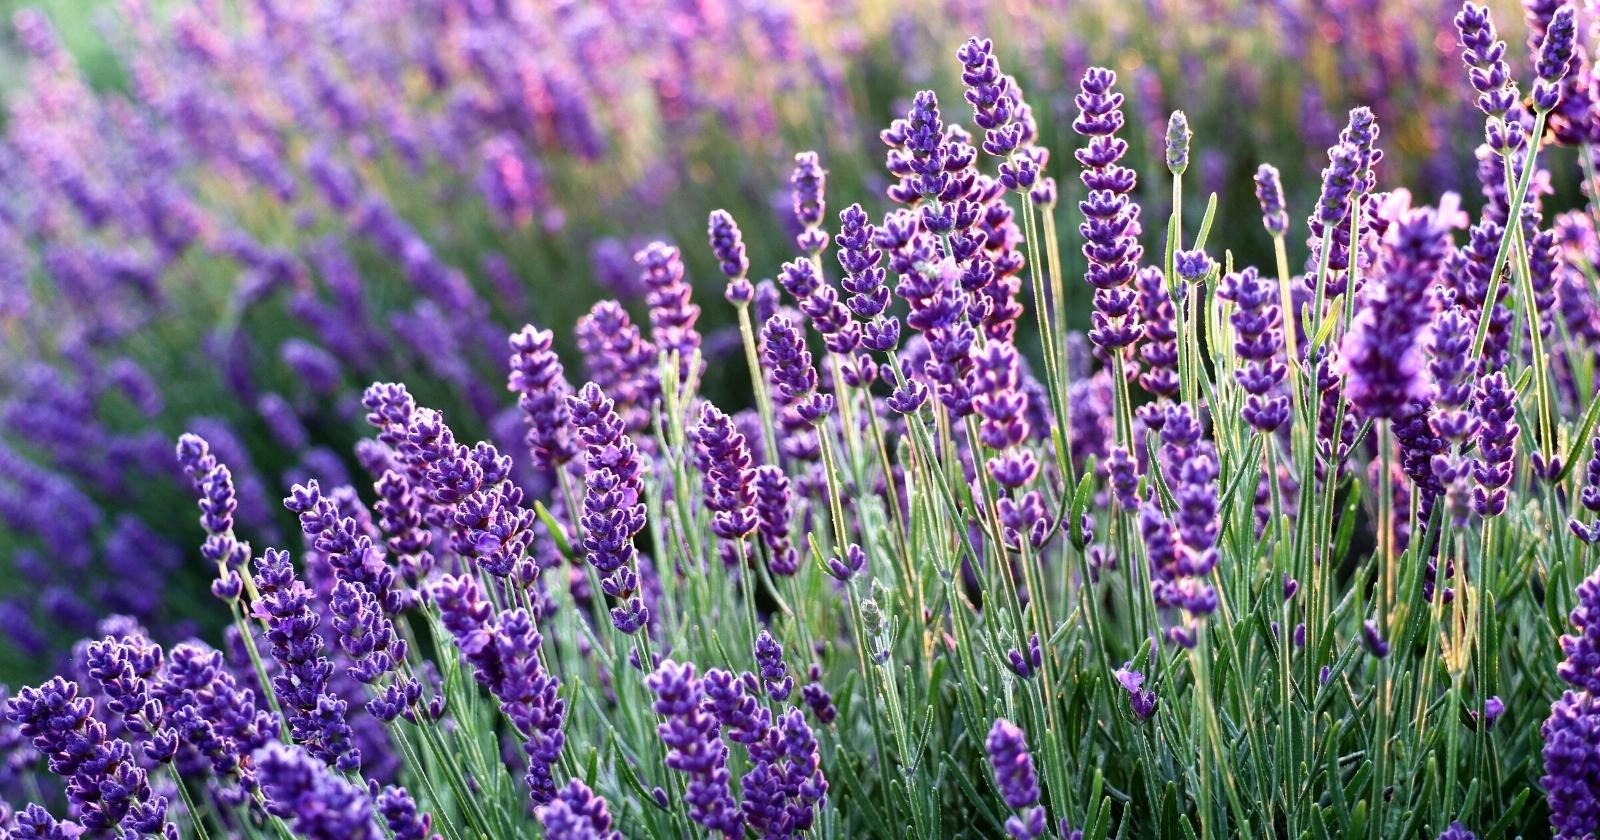
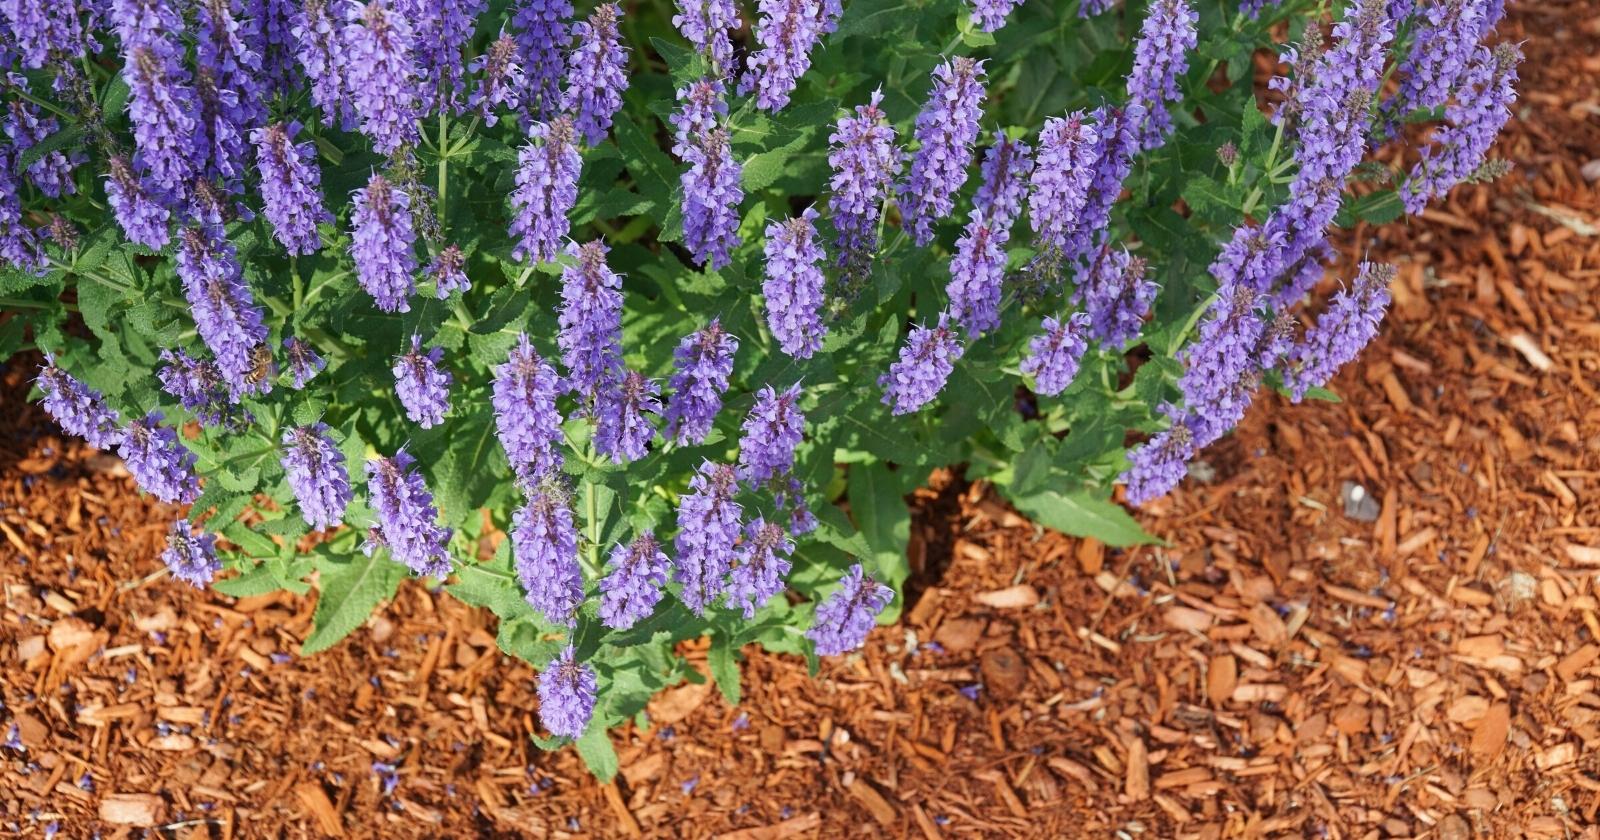
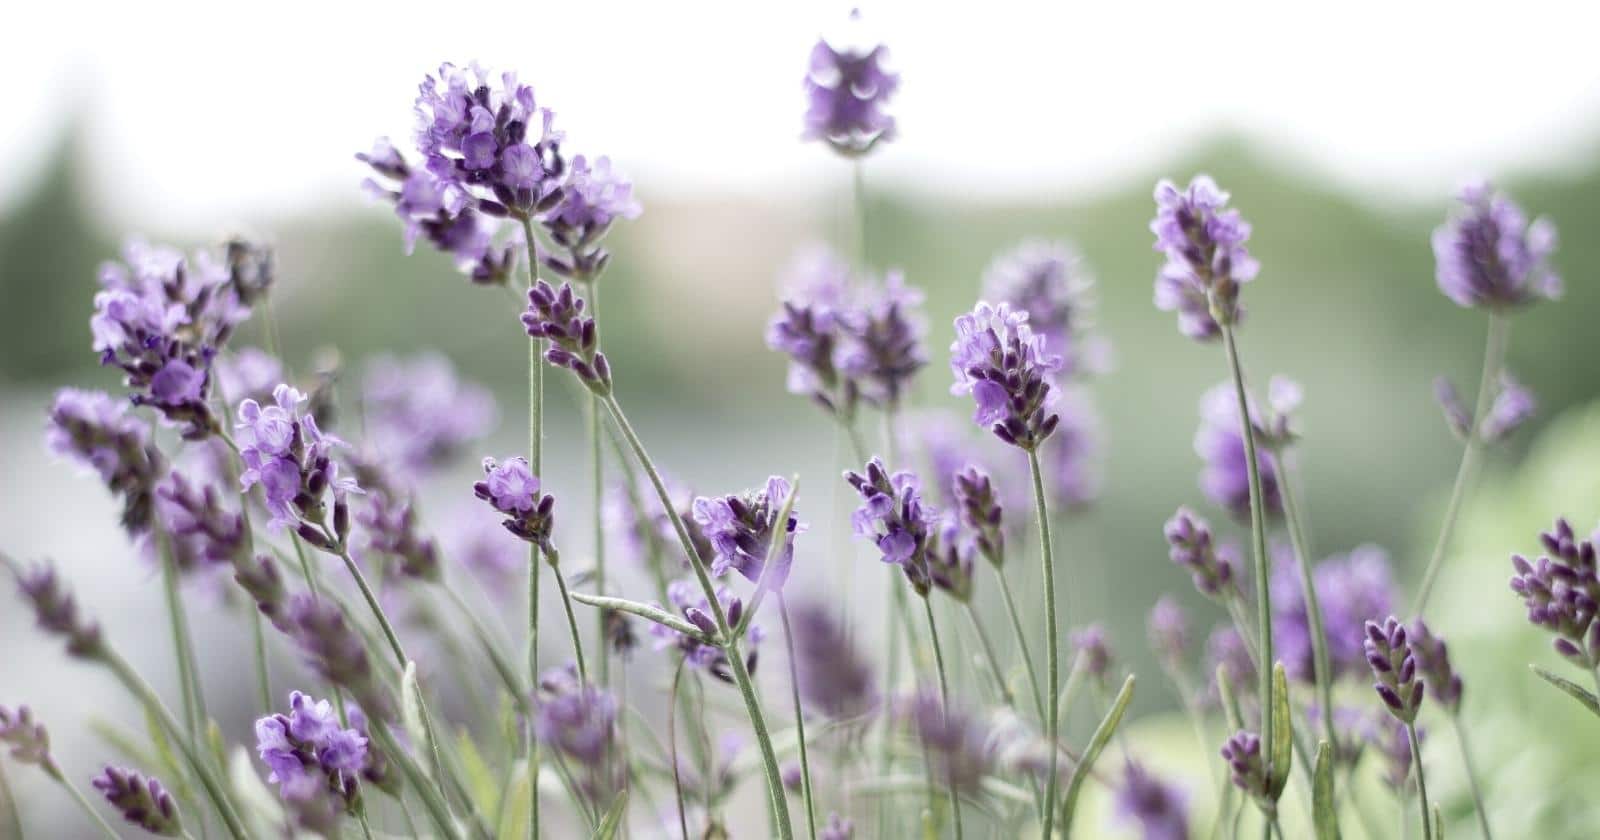
The aroma of lavender is among the most calming and grounding scents of spring. The dazzling spikes of violet-hued flowers sweep their delicate herbal fragrance around the garden with each summer breeze.
Eager bees and pollinators buzz between blossoms to soak up the sweet nectar, and the scented shoots await your gentle harvesting and bunching to grace your kitchen counter or garnish summer desserts.
With foliage ranging from silvery to sage-green and flowers ranging from purple to blue to white, lavender bushes are gorgeous ornamental perennials for any garden. This infamous Mediterranean-native herb is easy to grow, beginner-friendly, and well adapted to a range of climates.
If you dream of growing the perfect lavender garden, a few simple tips can help you prepare for a delightful herbal show that rewards you for years to come.
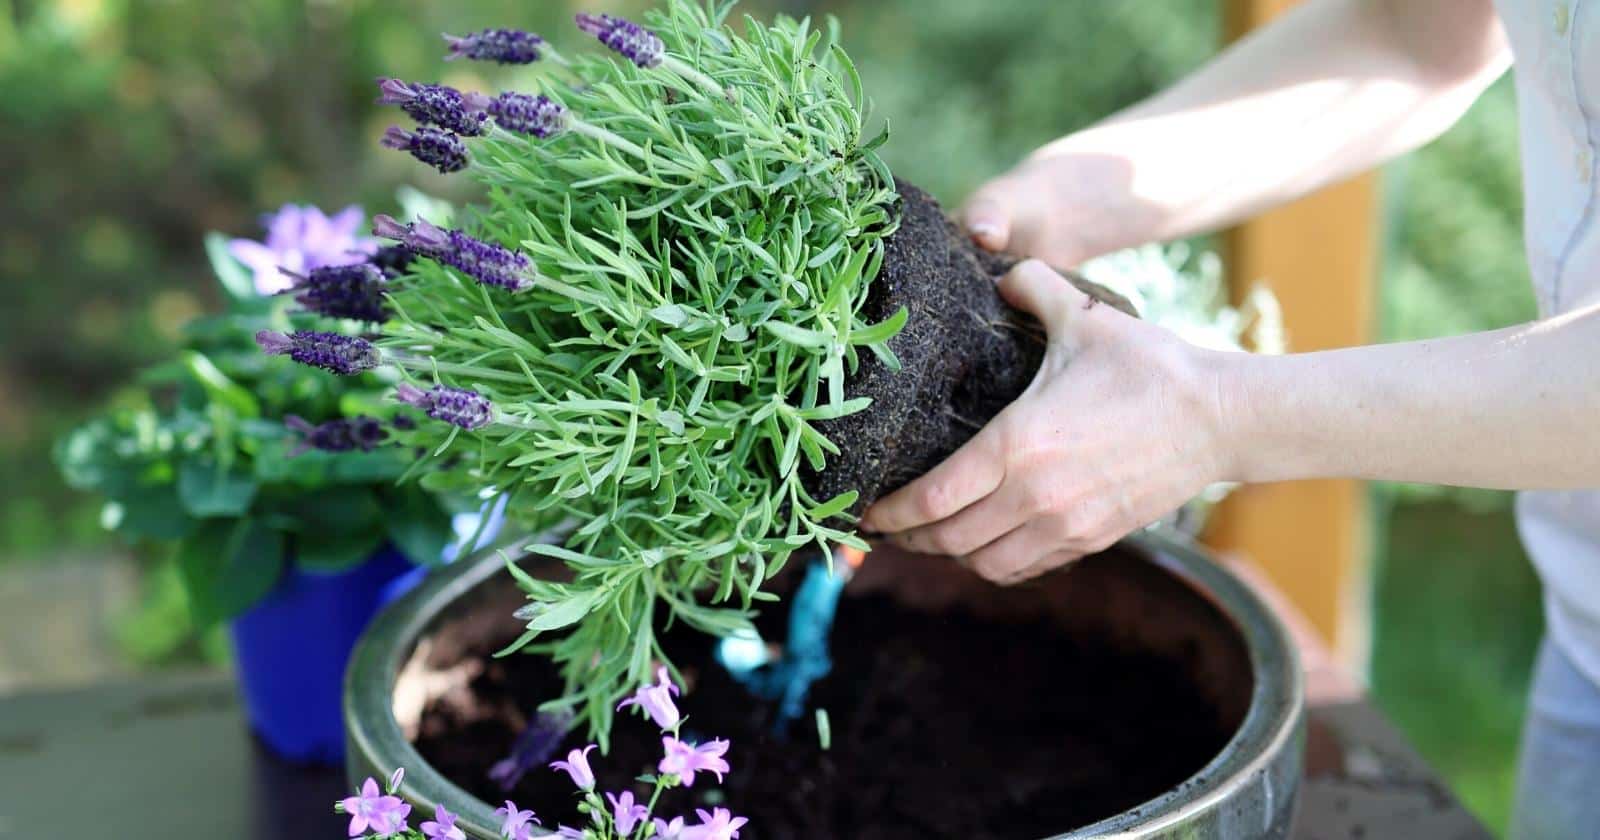
Start with Transplants
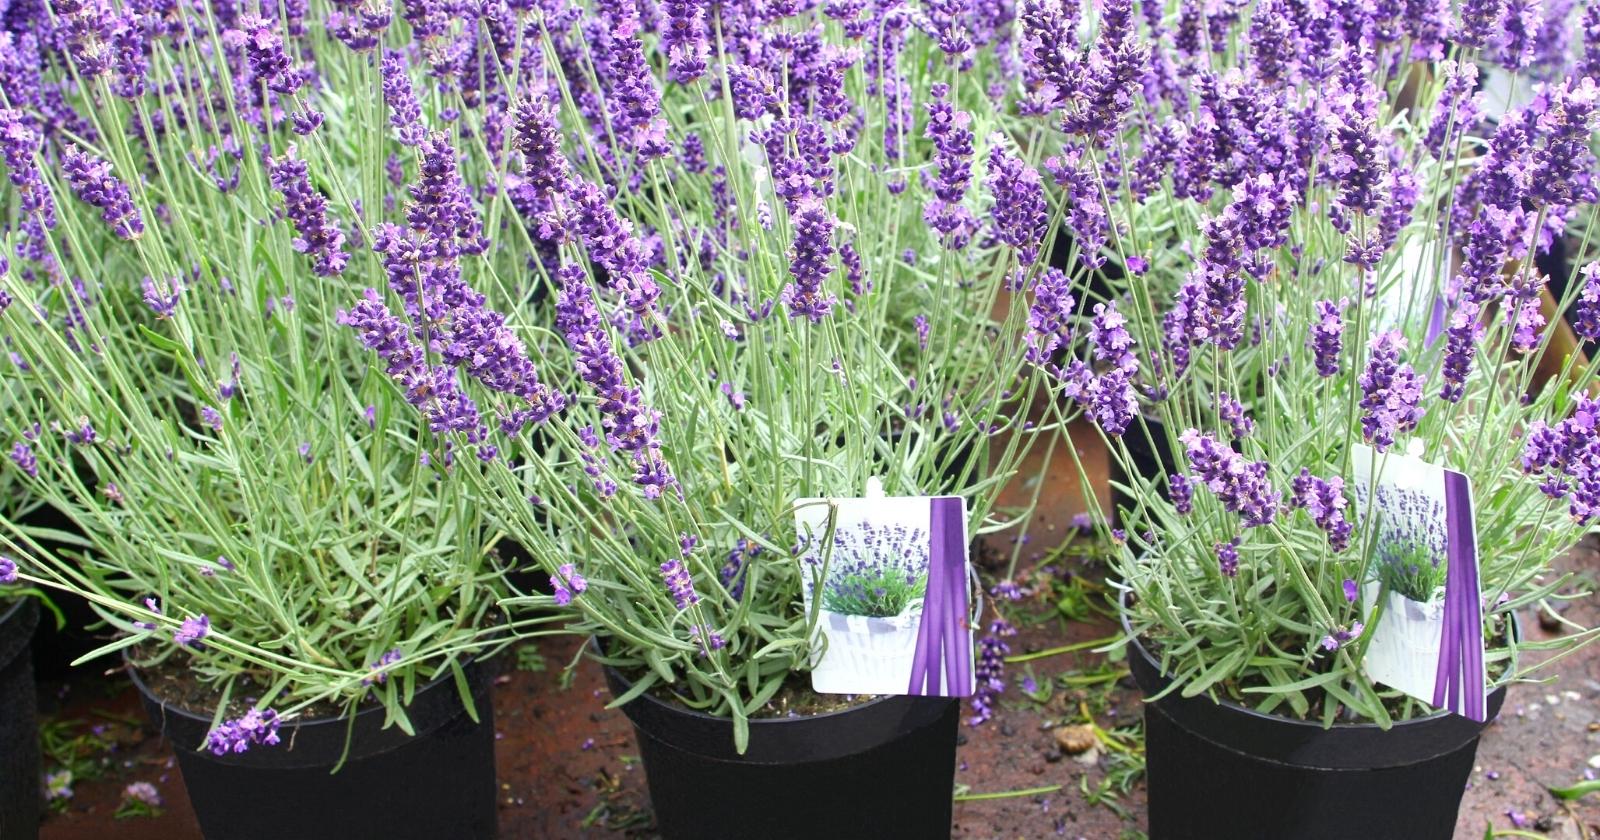
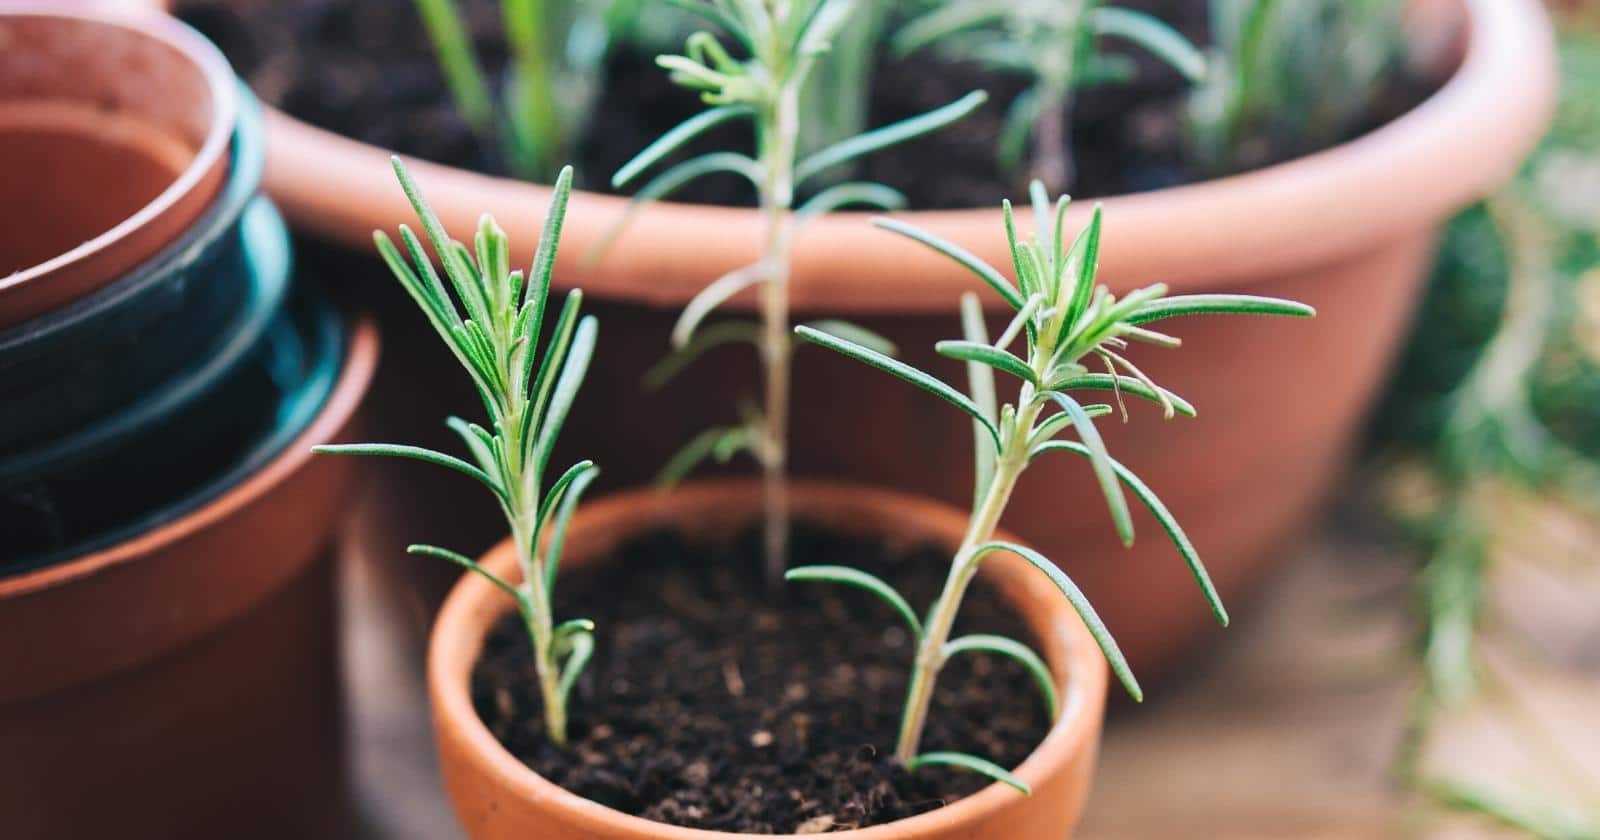
The easiest way to jump into growing lavender is by purchasing quality starts from a local nursery or garden store. Lavender is not typically grown from seed and it can be quite finicky to germinate and tend seedlings.
When you’re shopping for lavender transplants, be sure to check for a few signs of healthy, robust starts:
- Strong, established roots that fill out the current container (if they are root bound, you may need to “rough up” the edges of the roots that were clinging to the side of the pot)
- Many stalks with an abundance of leaves
- Vigorous growing foliage with strong woody stems and vibrant green new growth on the tips (no brown leaves)
- Distinct, strong aromatic smell
- No signs of disease, mold growth, or fungal pathogens
- A labeled cultivar that is ideal for your climate
Plant in the Early Spring
The best time to plant lavender is when the soil has warmed to about 60°F in the spring and the threat of frost has passed. This will give your lavender plenty of time to start rooting and preparing for the growing season.
Lavender naturally goes into its dormant state in the fall, therefore it’s very important it has the spring and summer to get established in its new home. However, if you live in a climate with hot summers (zones 9-10), lavender often does best with a fall planting so it can establish its root systems during the cool season.
If planting in summer or fall, it’s best to buy a larger, more hardy lavender plant. This will ensure survival through the winter. You can transplant it into the garden by mid-summer and it should still have enough time to get established before fall.
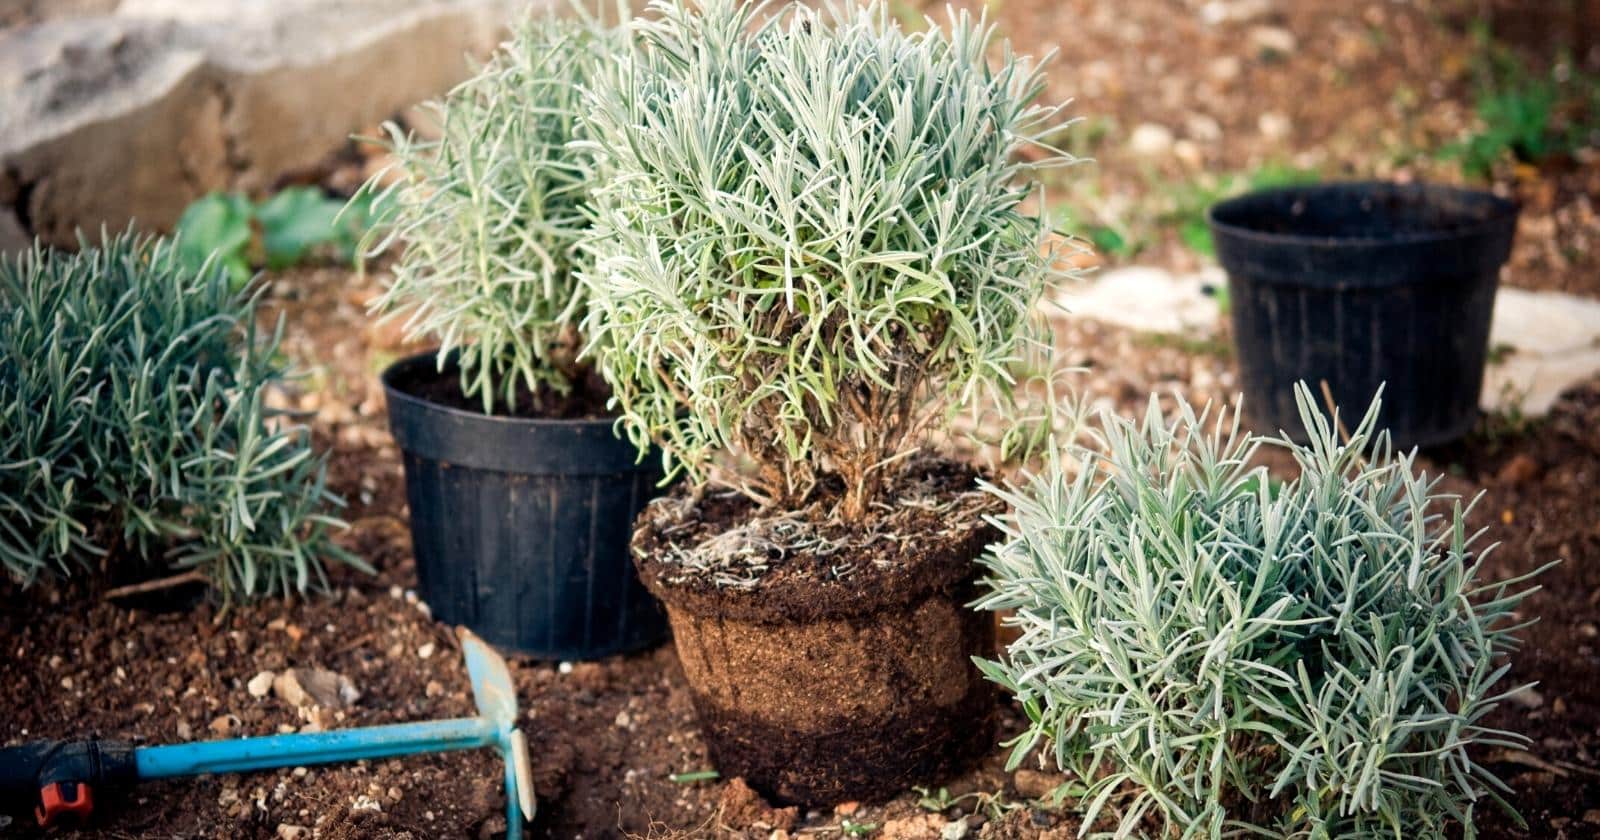
Prepare a Hole Twice as Deep

The most common mistake when planting perennial herbs is preparing a hole that is too shallow. Lavender planted in a shallow whole will have a hard time pushing its roots down and out into the surrounding soil. As a result, it will take a longer time to get established and may even demonstrate signs of stress (yellowing leaves, weakened stems, or wilting).
To prevent transplant shock, be sure to prepare a hole that is twice as deep and twice as wide as your lavender’s root ball. Use a broad-fork or digging fork to loosen and amend the surrounding soil with sand, perlite, compost, or fine gravel.
If growing in a heavy clay soil, consider widening and deepening the prepared area even more to ensure that water doesn’t get clogged in the zone beneath the lavender’s roots. As a rule of thumb, the planting hole should be at least two to three times as large as the lavender root ball in all directions.
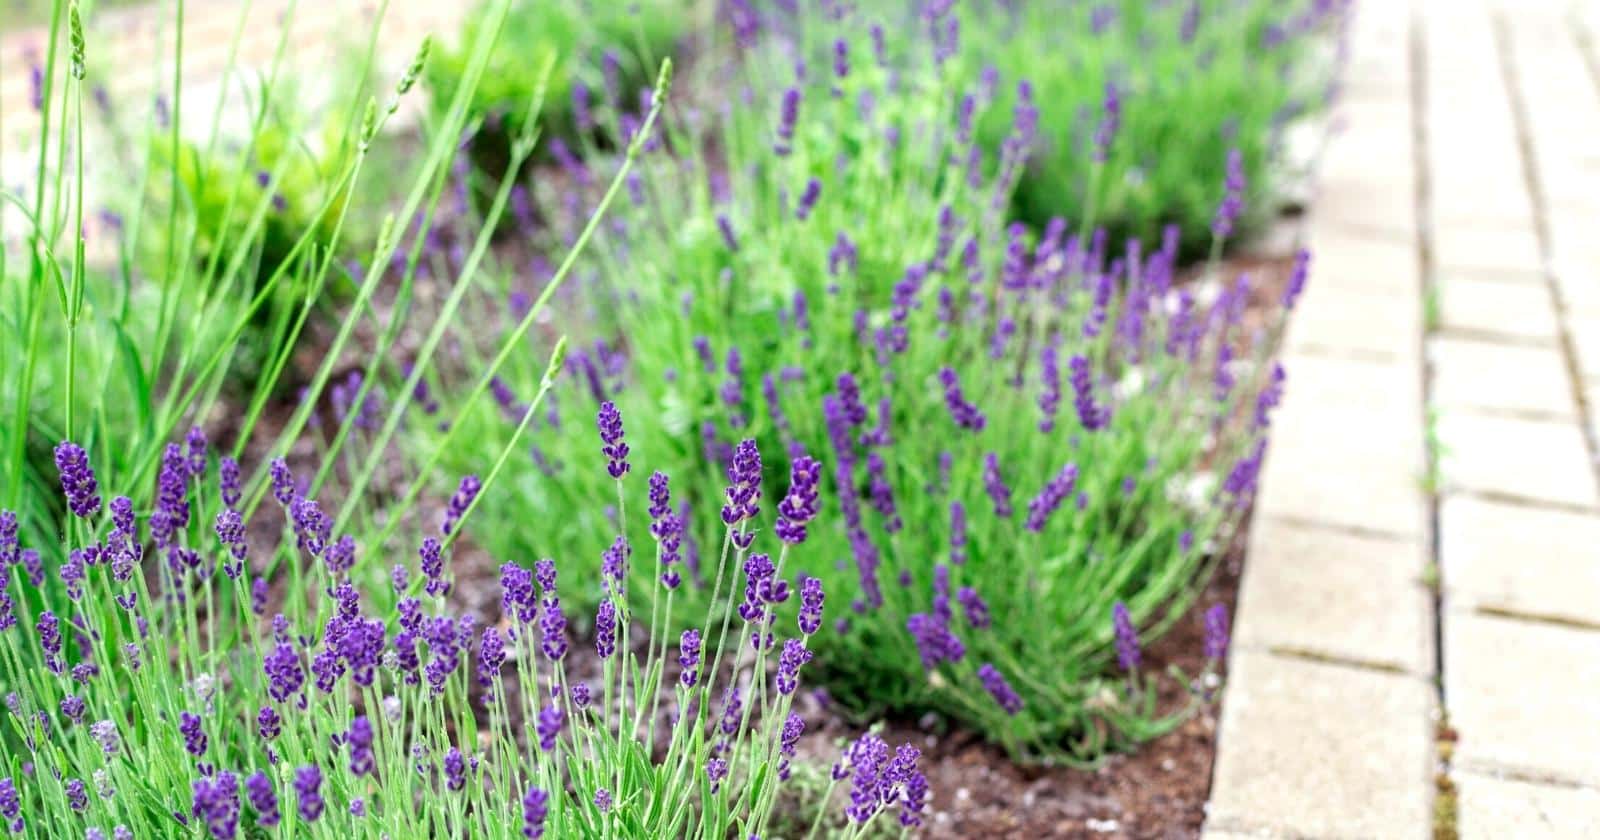
Give Lavender 2-3 Feet of Space
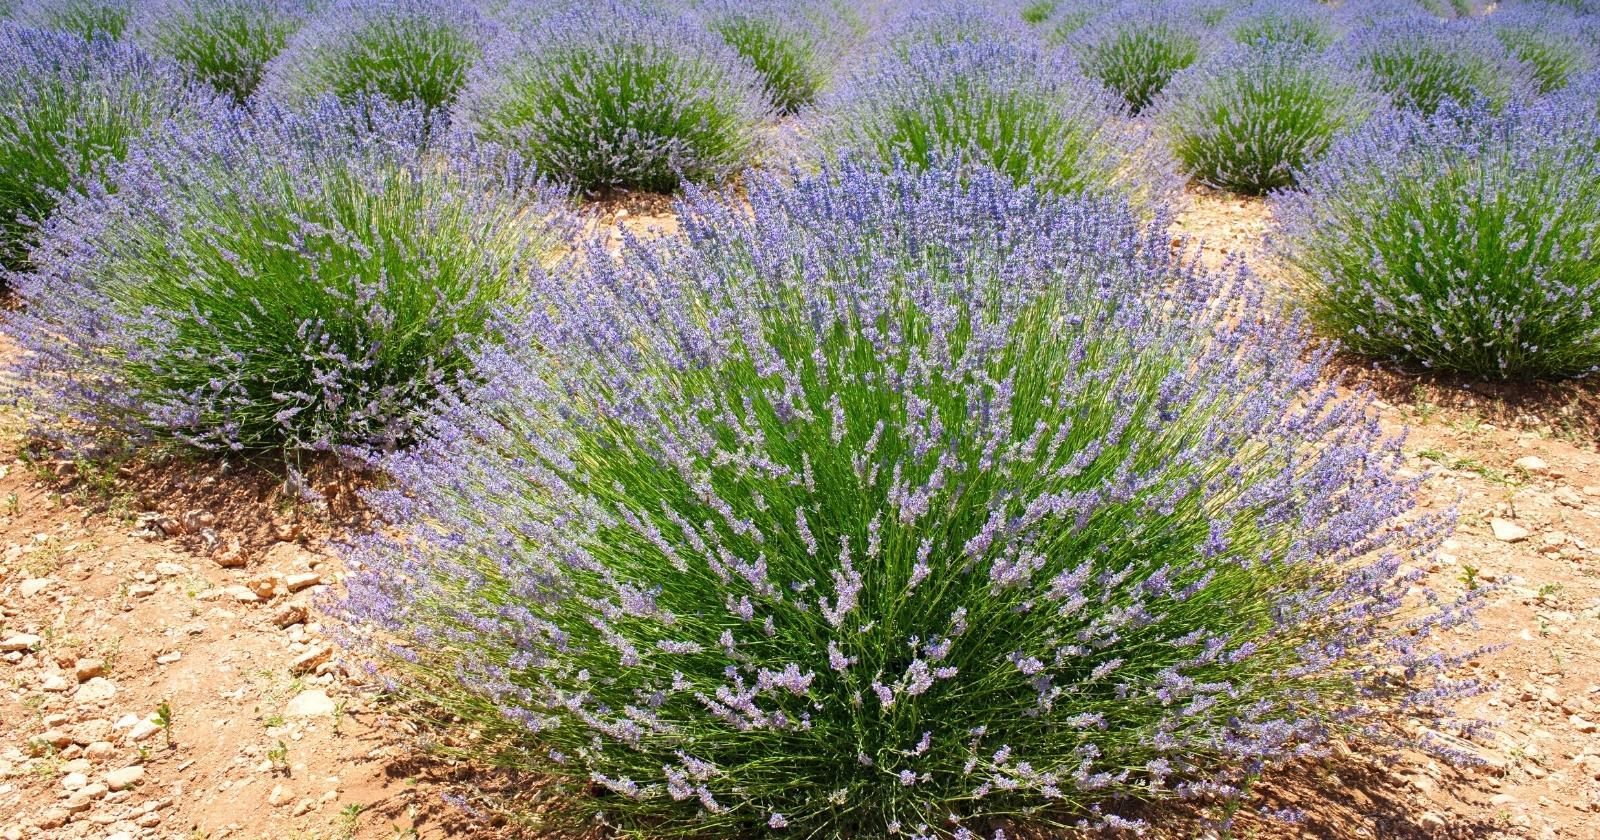
Lavender bushes can grow quite large, typically between 1 and 3 feet wide and tall depending on the variety. Whether you’re planting clumps of lavender together or next to other herbs, it’s best to provide lavender with 2-3 feet of space in every direction.
If you have a smaller garden, you can plant lavender closer to other plants as long as you keep it well-manicured and pruned. However, this may reduce your flower yields and require heavier pruning. Dwarf English lavender varieties like ‘Compacta’, ‘Hidcote’, and ‘Irene Doyle’ are great compact options that only require 1-2 feet of space.
Choose an Area with Nice Southern Exposure
Wild lavender evolved in high elevation regions of the Mediterranean where it blooms on arid, rocky slopes beneath the vibrant sun. It does not do well in shade and should never be planted in areas of the garden with tall trees or structures that may block the sunlight.
This light-loving herb prefers 8-10 hours of direct sunlight every day. South-facing areas of the garden are ideal, however you can get away with east or west-facing exposure as long as the plants are unshaded for the majority of the day.
Avoid High Fertility Soil
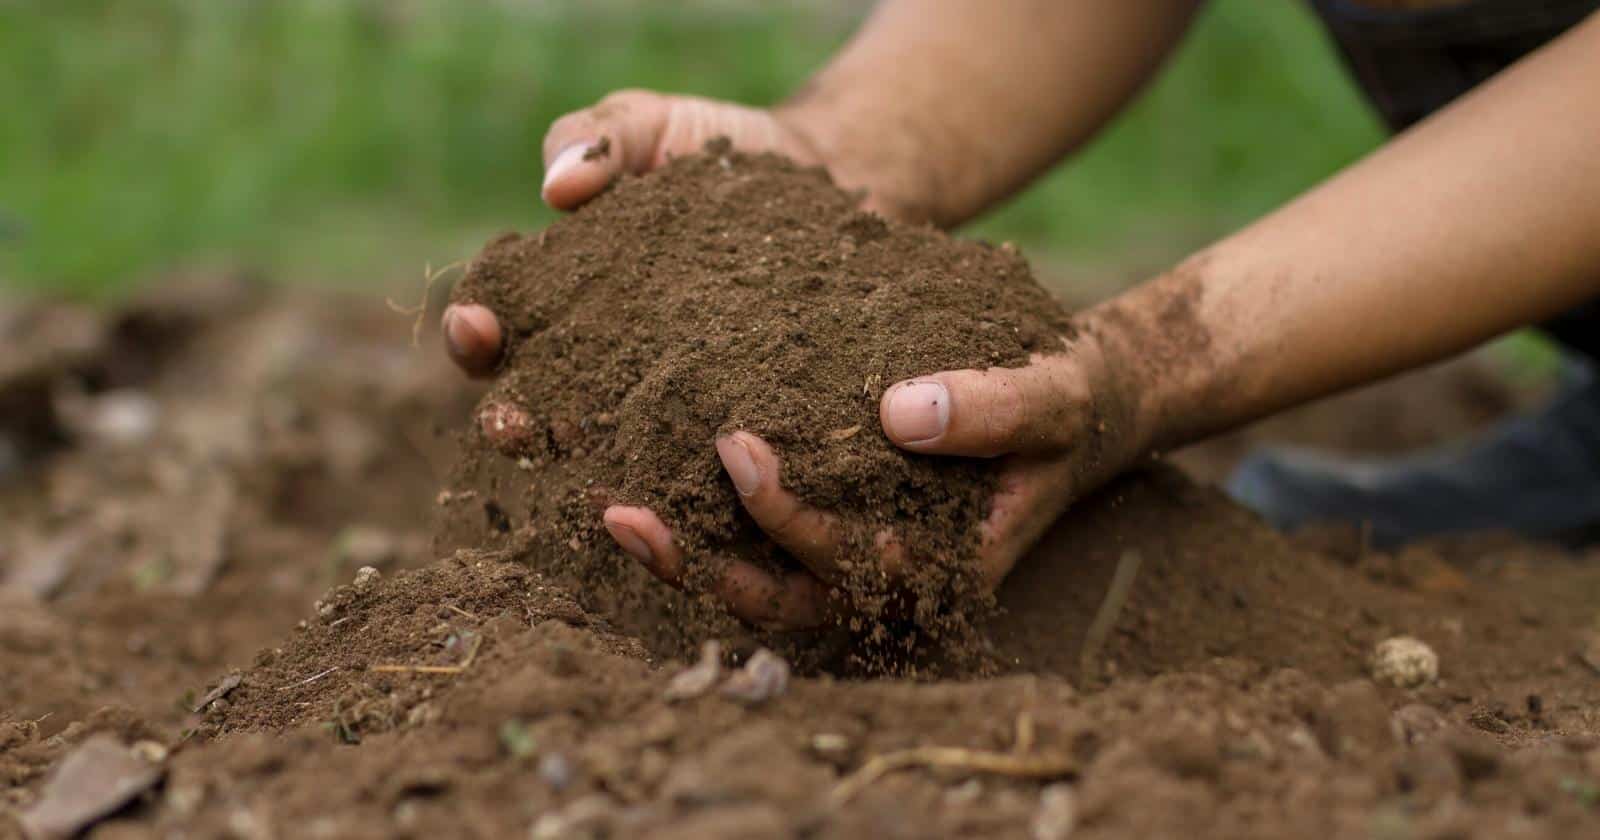
Contrary to our common garden vegetables, extra fertile soil is not ideal for lavender. Too much nutrient richness in the soil can lead to an excess of foliage and reduced blooms. While silvery-green lavender leaves are nice, we are really after those decadent aromatic blossoms.
Therefore, you should avoid fertilizing lavender or amending the soil with manure-based composts. Instead, give it proper drainage that will keep its root zone aerated and fairly dry.
Heavy clay soils are the most difficult for lavender because the water tends to pool up and clog the root zone. Amend with a light bark-based compost to add organic matter and improve the drainage of your soil. You can also use perlite, peat moss, vermiculite, or sand.
Plant Lavender with Like-Minded Plants
Lavender thrives in perennial garden beds alongside other Mediterranean-native herbs like rosemary, sage, marjoram, savory, and tarragon. These perennials love the same well-drained, low-fertility soils as lavender and can be tended in a very similar way. Lavender will return each season, so make sure to plant with companions that have similar growing profiles.
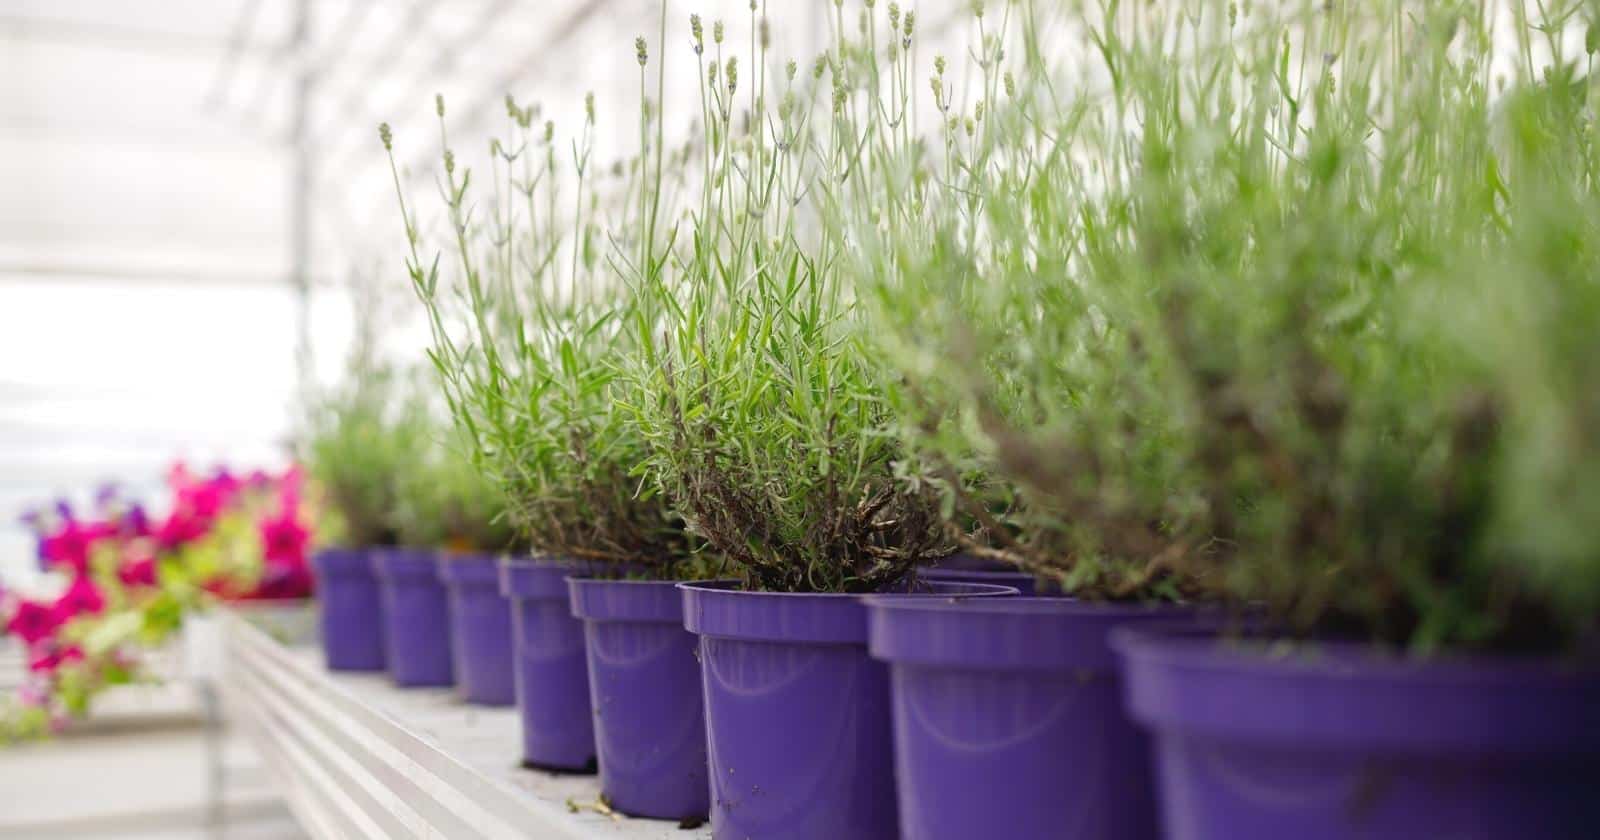
For Cold Climates, Grow in a Container
Lavender hates 3 main things: wet roots, foggy conditions, and frosty cold.
If you live in an ultra cold climate, keep lavender away from these enemies by growing it in a pot or grow bag that can be easily moved during the cold months.
This gives you more flexibility to protect your lavender from sudden cold snaps and deep winter freezes. Lavender would love to hang out in your house by a south facing window during intense rains and extreme cold.
Be sure that your lavender pot is at least 12” deep and 12” wide with a nice drainage hole at the bottom. Keep in mind that lavender absolutely needs plenty of sun when indoors. It can be hard to provide enough light in northern winters, but a supplemental grow light often does the trick.
The main thing to look out for when growing lavender in a container is irrigation. It’s a lot easier to overwater in a pot, therefore you have to pay extra attention to the soil blend, drainage hole, and frequency of watering.
Lavender likes to dry out a bit between waterings and should never sit in soggy soil. In fact, you can water potted lavender at a similar frequency as indoor pothos plants. A good rule of thumb is to stick your finger in the lavender pot to ensure that it has dried out down to a depth of 4-6” before the next watering.
Use Mulch
Mulch keeps weeds at bay and protects the soil from erosion. It also insulates the lavender’s root zone from weather extremes. You can mulch lavender right after planting and add an extra layer before winter cold.
Avoid extra heavy or deep mulches that may hold in too much moisture. Instead, opt for a fluffy mulch like light wood shavings, pea gravel, perlite, shredded leaves, or a chopped straw.
Avoid Overwatering
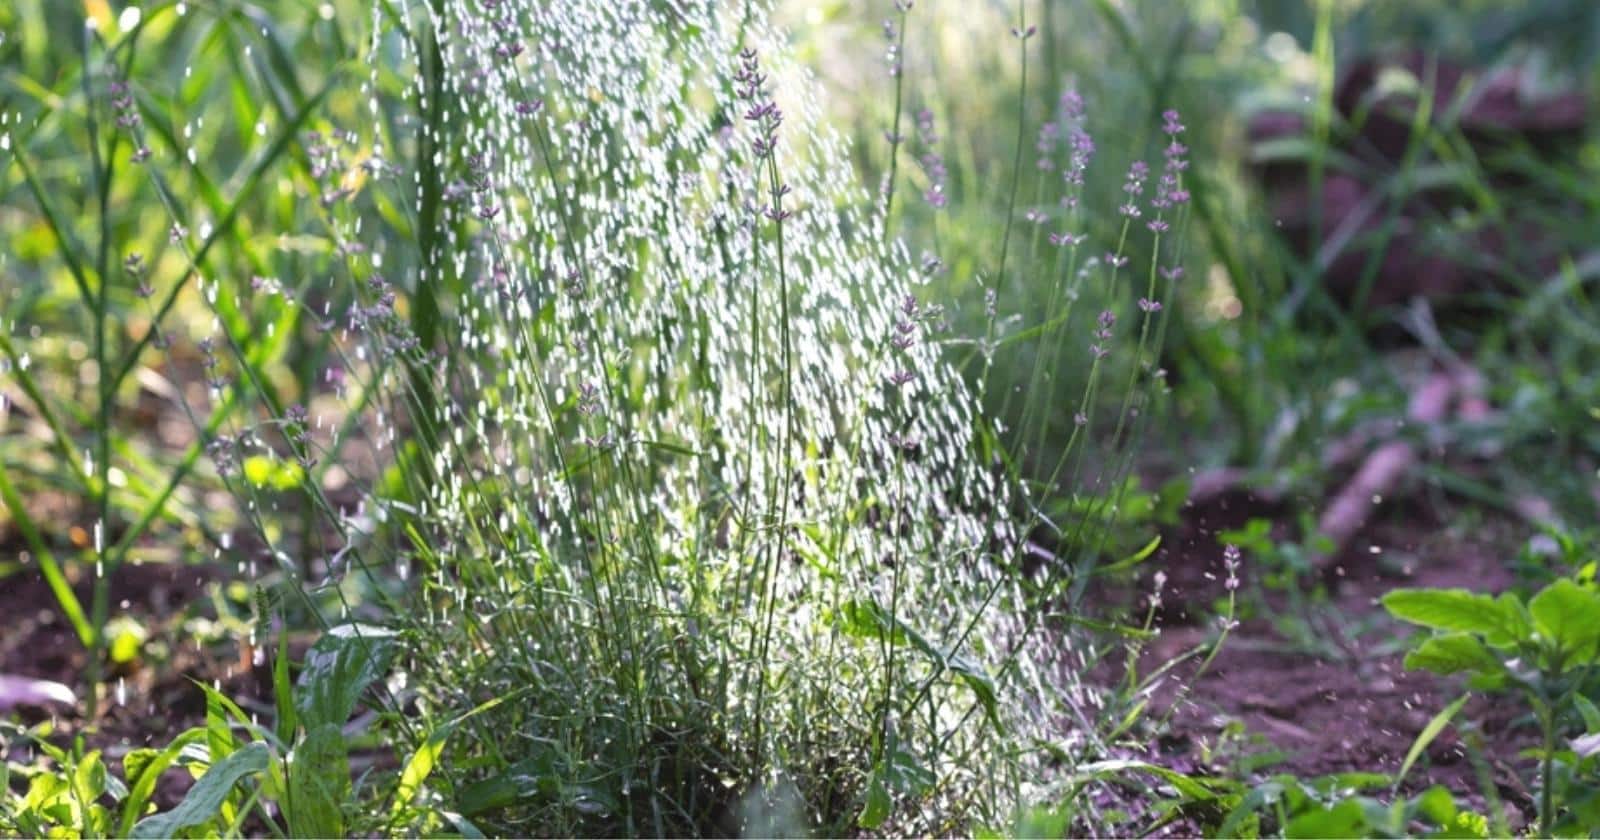
Lavenders are very drought tolerant plants adapted to hot, arid regions of Mediterranean Europe. They are more likely to suffer from overwatering than they are from drought.
Overwatering is often the most common reason for lavender disease, root rot, and problems with pathogens. To prevent soggy conditions, follow these basic watering instructions based on the age of your lavender plant:
| Age/Type of Lavender Transplant | How to Avoid Overwatering |
| Recently transplanted lavender | Lavender transplants should be watered in immediately with a deep soaking at the base of the plant. Avoid getting water on the foliage. Properly prepared soil will absorb the irrigation completely and should not appear muddy. |
| First month after transplanting | Check newly transplanted lavender about once per week. If it has been warm and sunny, provide a generous soak around the base. If it has been cold or wet, check the soil with your finger and avoid watering if it is still clinging to your skin. |
| First 2-6 months after transplanting | Lavender can slowly be weaned off of excess irrigation by reducing your watering to every 2-3 weeks. There is no need to water if you receive regular spring rains. |
| Established lavender (1 year+) | In most climates, mature lavender with an established root zone should be just fine without supplemental irrigation. You can provide an occasional addition of water during the hottest, driest months, preferably using soaker hoses or drip irrigation around the base. Professional lavender growers often irrigate only once or twice per year, that’s it! |
| Potted lavender | Check the soil moisture level once every week and do not water until the top 4-6” have dried out. Only water until moisture comes out of the bottom drainage hole and be sure that it doesn’t ever pool up inside the pot. |
Prune Once or Twice a Year
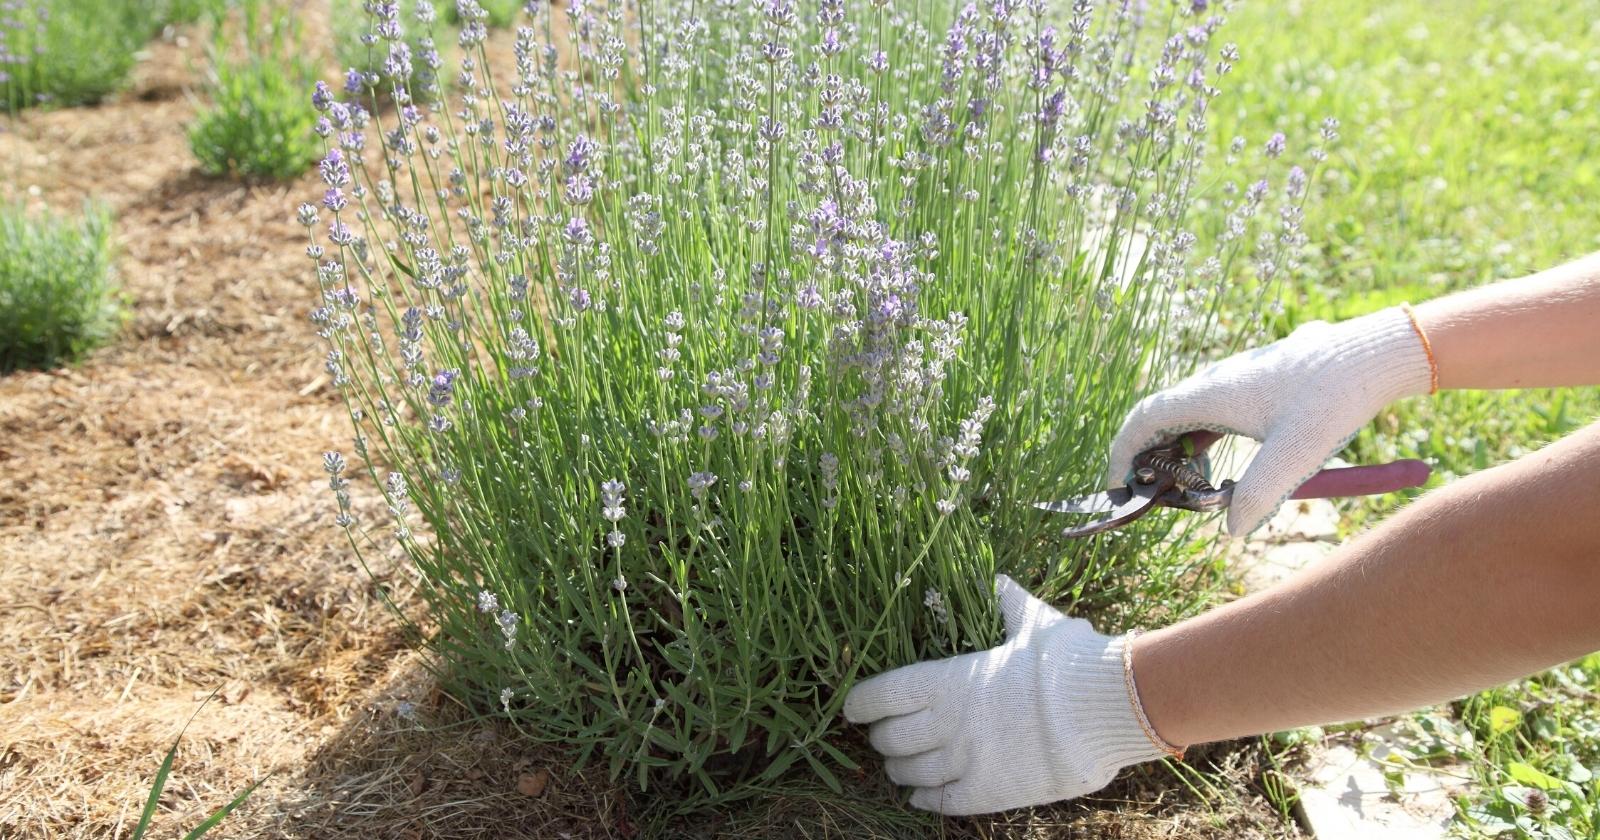
Pruning lavender is one of the most important parts of its care. Just like mowing your lawn, pruning encourages new flushes of growth while also maintaining an aesthetically pleasing ornamental. You want to be sure that the plant keeps a nice shape and does not get overgrown or spindly, which could lead to falling over and uprooting in extreme winds.
The best time to begin the pruning process is in the spring after the first round of flowers. This is optional, however it is an easy part of harvesting that can help shape the plant as it grows. Simply leave 1-2” of green new growth above the woody portion as part of the harvest and initial pruning process.
The second pruning time is in mid-to-late summer or early fall. This is a harder prune where you are cutting back the tops of the woody growth of the plant to prepare for the dormant season and set the stage for the lavender’s growing habit in the following year. This also gives you the opportunity to shape the lavender into a lower, oval-shaped bush or a rounder shrub.
Cut back the top one third to one half of the new growth just above the side branches and leaf nodes. However, be sure you don’t take off too much woody growth near the base of the plant.
In Warm Climates, Prune More Regularly
If you live in a year-round growing season (growing zone 9a or warmer), you may prefer to prune lavender more than twice throughout the season. This will help maintain the most manicured lavender shrub possible that continues to produce vigorous new growth throughout the year.
You can snip lavender into your preferred shape as you harvest, preferably cutting just above the growing nodes.
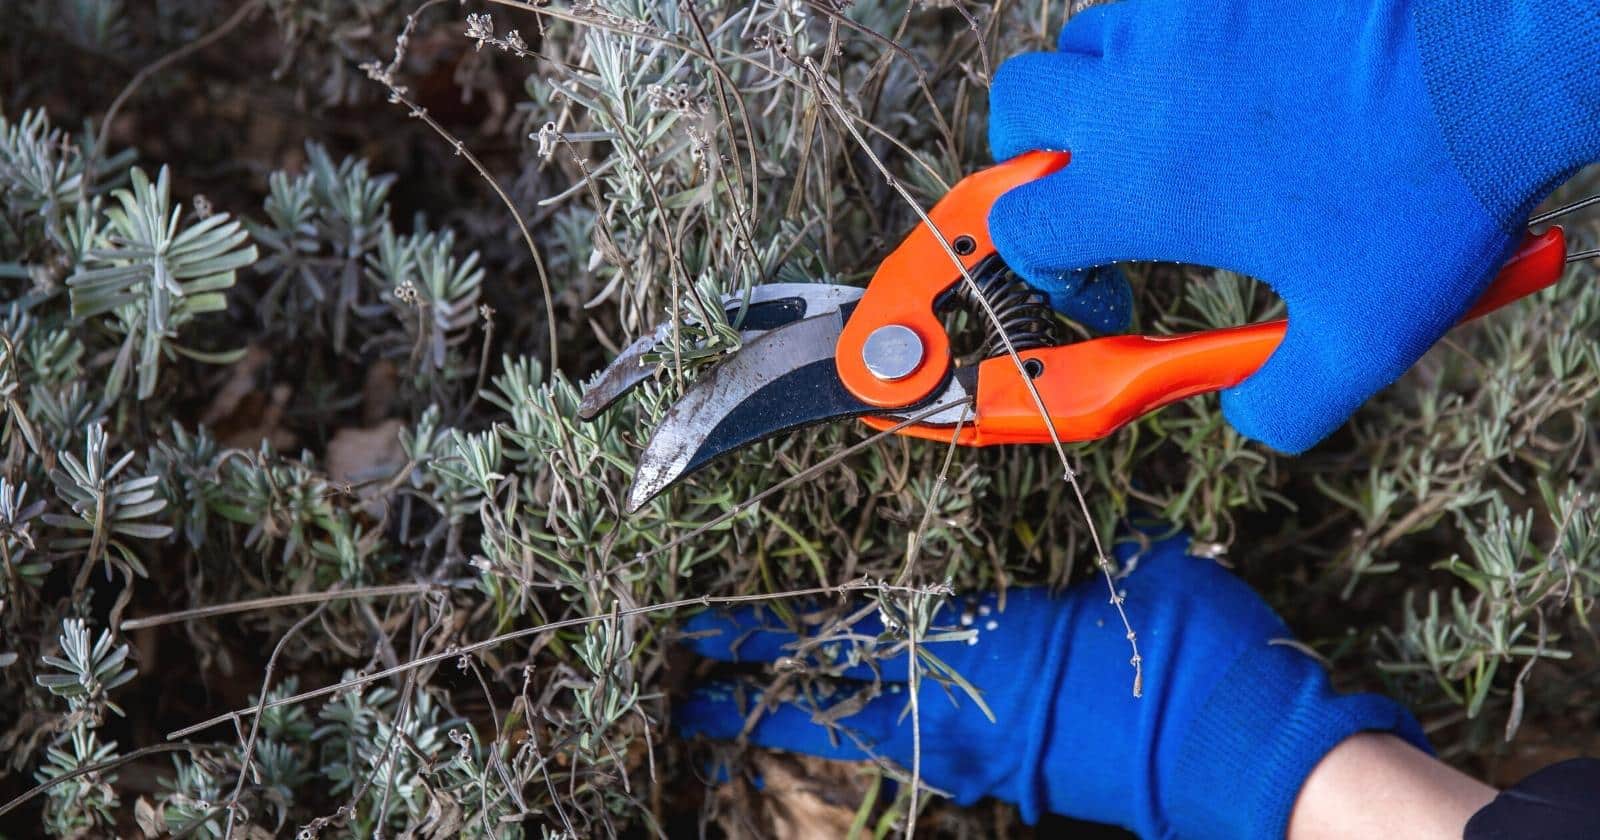
Don’t Prune Below the Woody Growth

With proper pruning and care, lavender can live for 10-20 years in your garden. The key is to avoid pruning the hardwood (near the base of the plant), because this will kill your lavender.
When pruning, first locate the woody parts of the plant. This is often 6-12” from the top blossoms where the stems are thick and brown. You will notice where the green offshoots stop and these harder growing points begin.
Make cuts a few inches above the softer green growth to promote faster regeneration. It’s important to never prune lower than the woody section or you may hinder new growth.
Use Prunings as New Cuttings
One great thing about lavender is that it can be readily propagated from cuttings. In fact, you can use your prunings to establish new baby lavender plants for gifts or expand your herb garden.
At the time of spring harvest and pruning, you can root softwood cuttings in a standard potting mix or commercial rooting medium. Simply choose a soft pliable stem with no buds or blooms. Use a sterilized knife to cut it about 3 to 4 inches long just above a leaf node (bump). Remove the lower leaves and scrape a little bit of skin off the lower inch of the stem.
Optionally, dip the bottom in a rooting hormone and then plant about 2” deep into the potting medium to keep the cutting standing up. Keep it watered and in a warm, mild place like a patio, greenhouse, or south-facing window. The softwood cutting should root in 2-4 weeks.
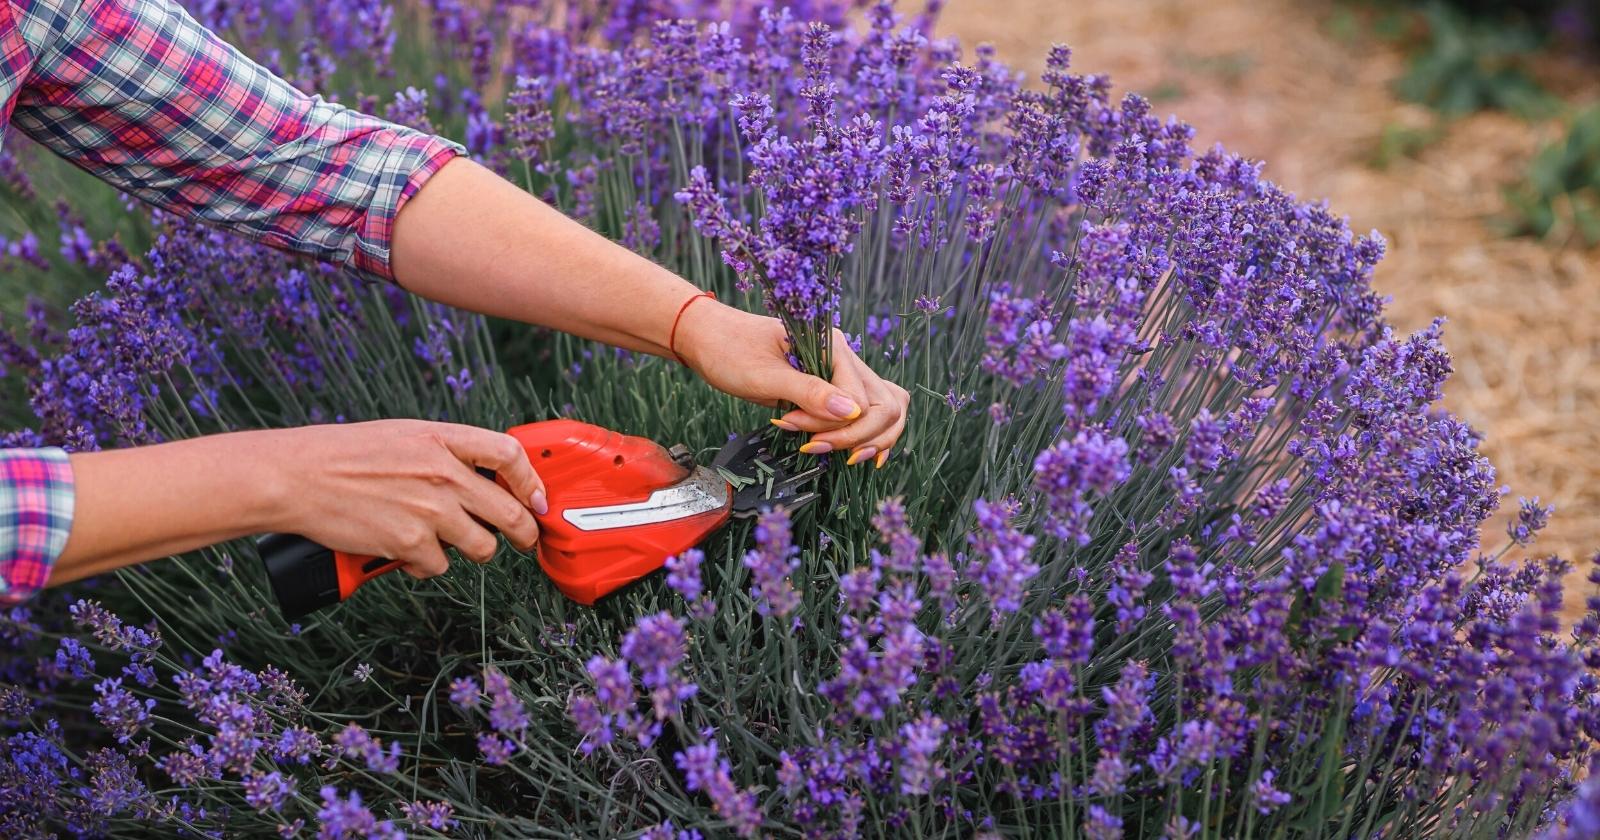
Harvest Properly
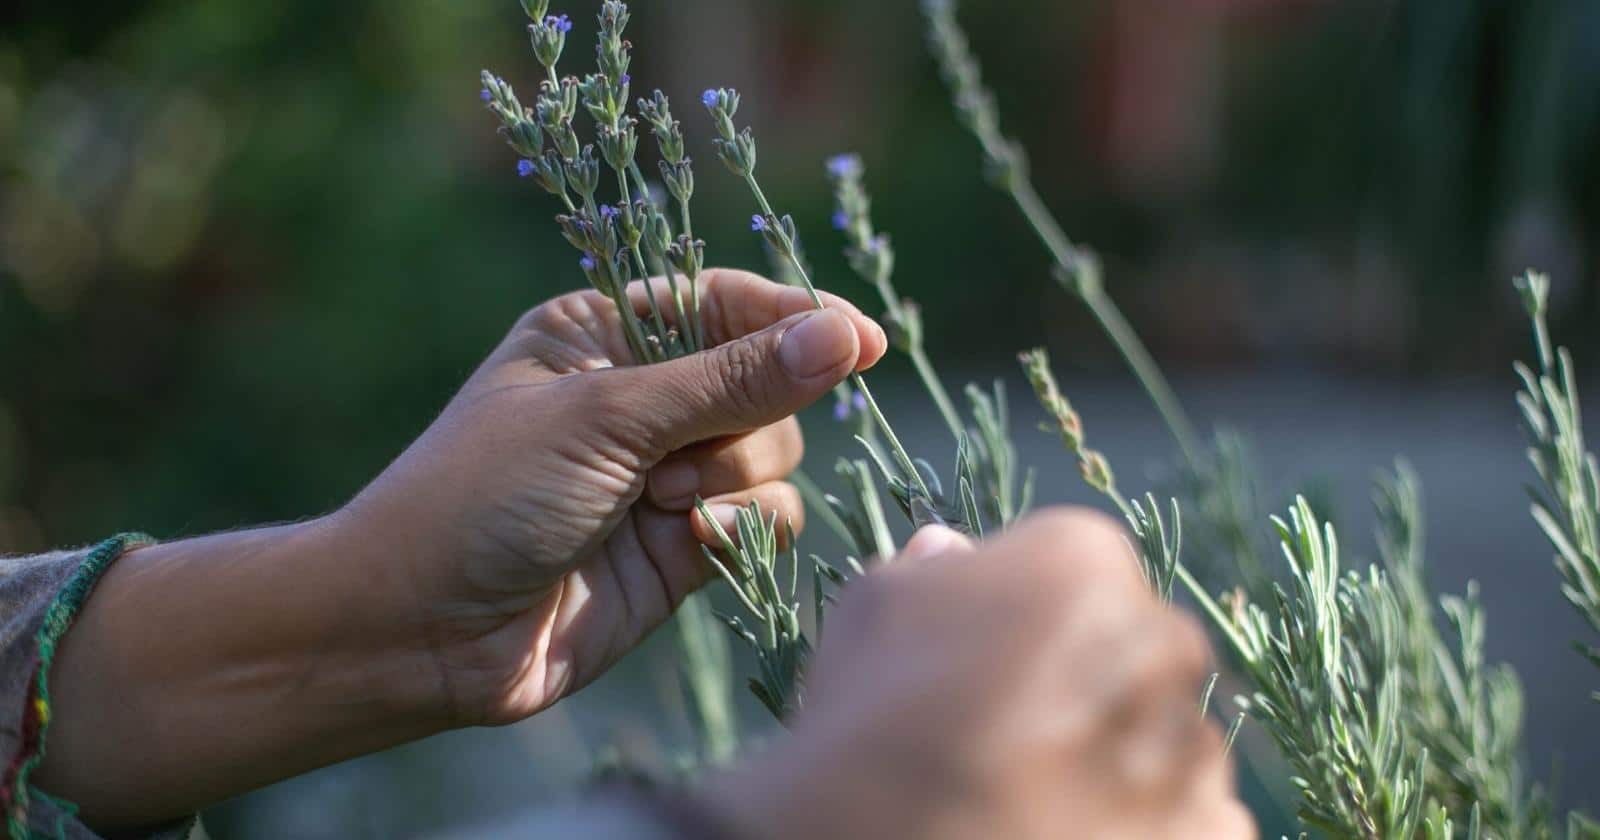
The best time to start harvesting lavender is when the blooms are 25-50% open. This is when the flowers have the highest essential oil content and fragrance.
In the early morning, use garden pruners or scissors to cut just above the woodiness. You don’t want to cut the woody growth until later in the fall at that time of pruning. Instead, be sure to harvest only from the green, fleshy growth that will continue to grow flowers.
As long as you cut in that sweet spot just where the green new growth starts, you can harvest throughout the flowering season. Early season harvests encourage more blooms. New flowers will begin to form at the tips throughout the summer. Other blossoms can be left to fully open for pollinators.
Regularly Clip Faded Blooms
When blooms begin to fade or dry out, it’s best to cut them off to encourage more blossoms. This is similar to the “deadheading” process used in growing other types of ornamental flowers.
Clipping dead blooms keeps your plants looking nice and pleasant while also keeping their energy flowing toward more delightfully-scented flowers rather than forming seed-heads.
Dry Lavender in Bundles
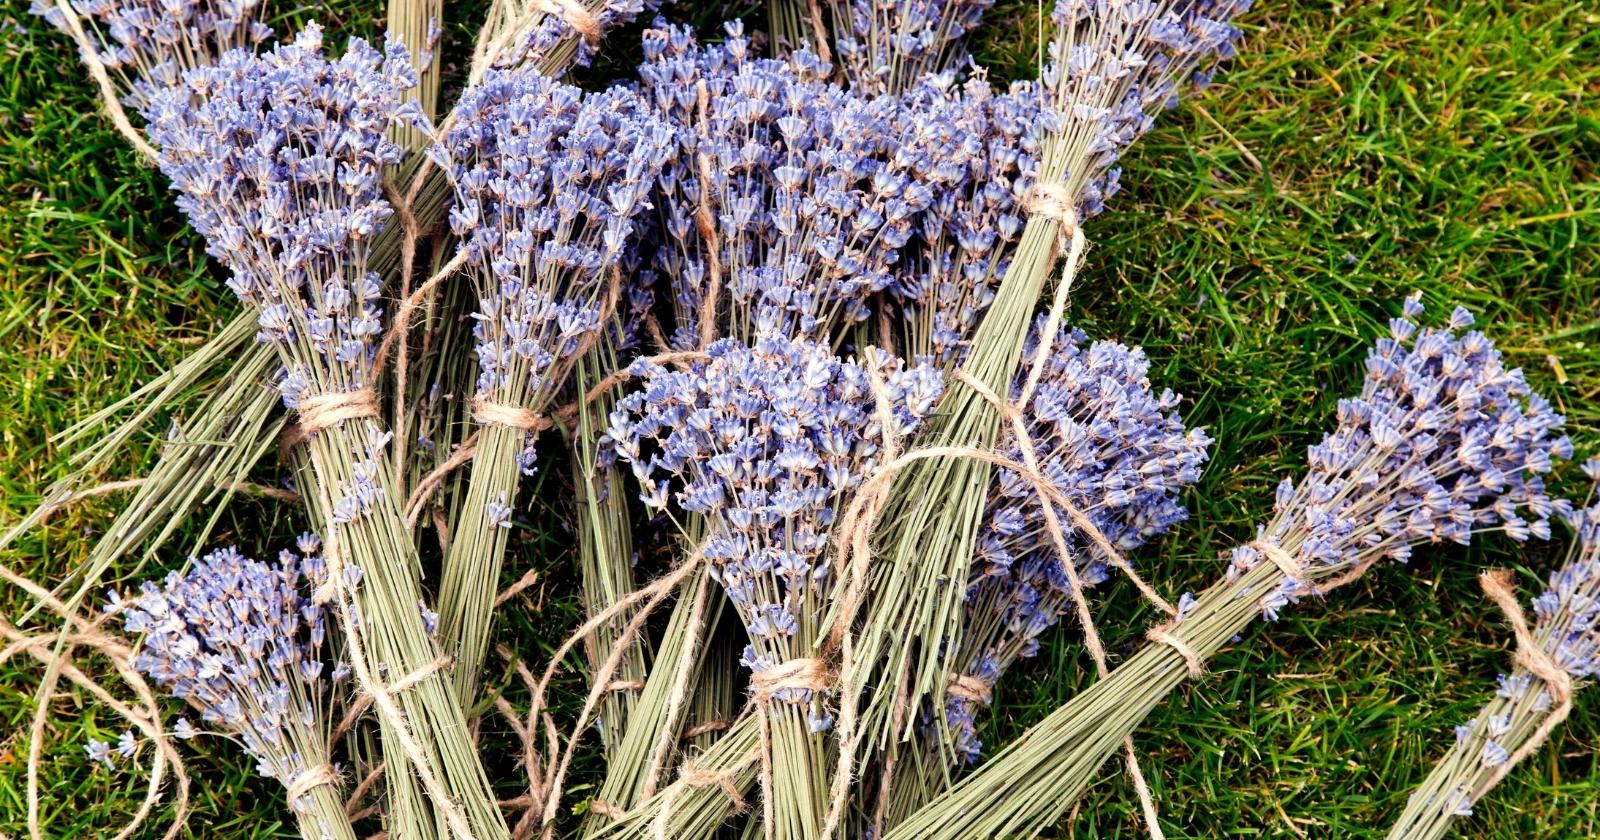
The easiest way to preserve freshly harvested lavender is by bunching it together for drying. You can bundle your lavender stems together with twine and hang upside down to dry for 10-14 days in a dry, cool place.
Alternatively, you can snip the blooms off on their own and dry on a screen or in a food dehydrator. Lavender flowers can also be infused fresh into honey, alcohol tinctures, and as a garnish on desserts.
Protect Lavender from Frosts
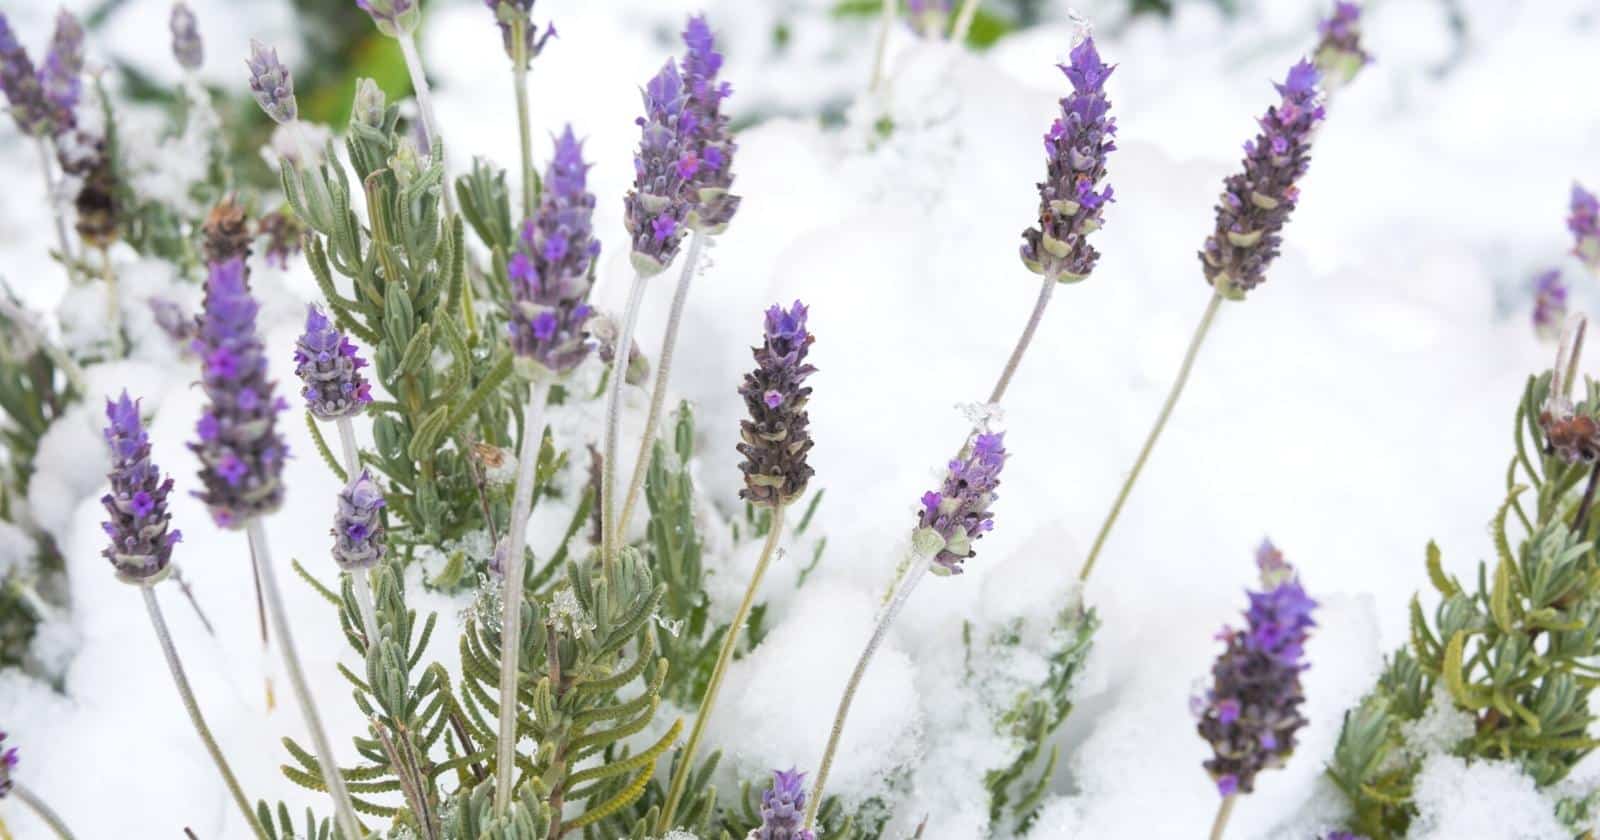
In cold climates (zone 5 or lower), it is essential to protect lavender from frost. Although English lavenders are best suited for northern regions, they still need some extra help to get through the winter.
A nice insulate blanket of snow can actually do the trick once the plants are in their dormant state (when they’ve dropped their leaves at the end of fall). You can also use row cover, frost protection blankets, deep mulches, and/or plastic hoop houses to protect from wind and frost.
A good fall pruning is an added layer of protection against frost because it encourages a funneling of energy storage down to the robust lavender root zone.
If you live in zones 4 or colder, container-grown lavender is probably the best option for you.
Prevent Fungal Diseases
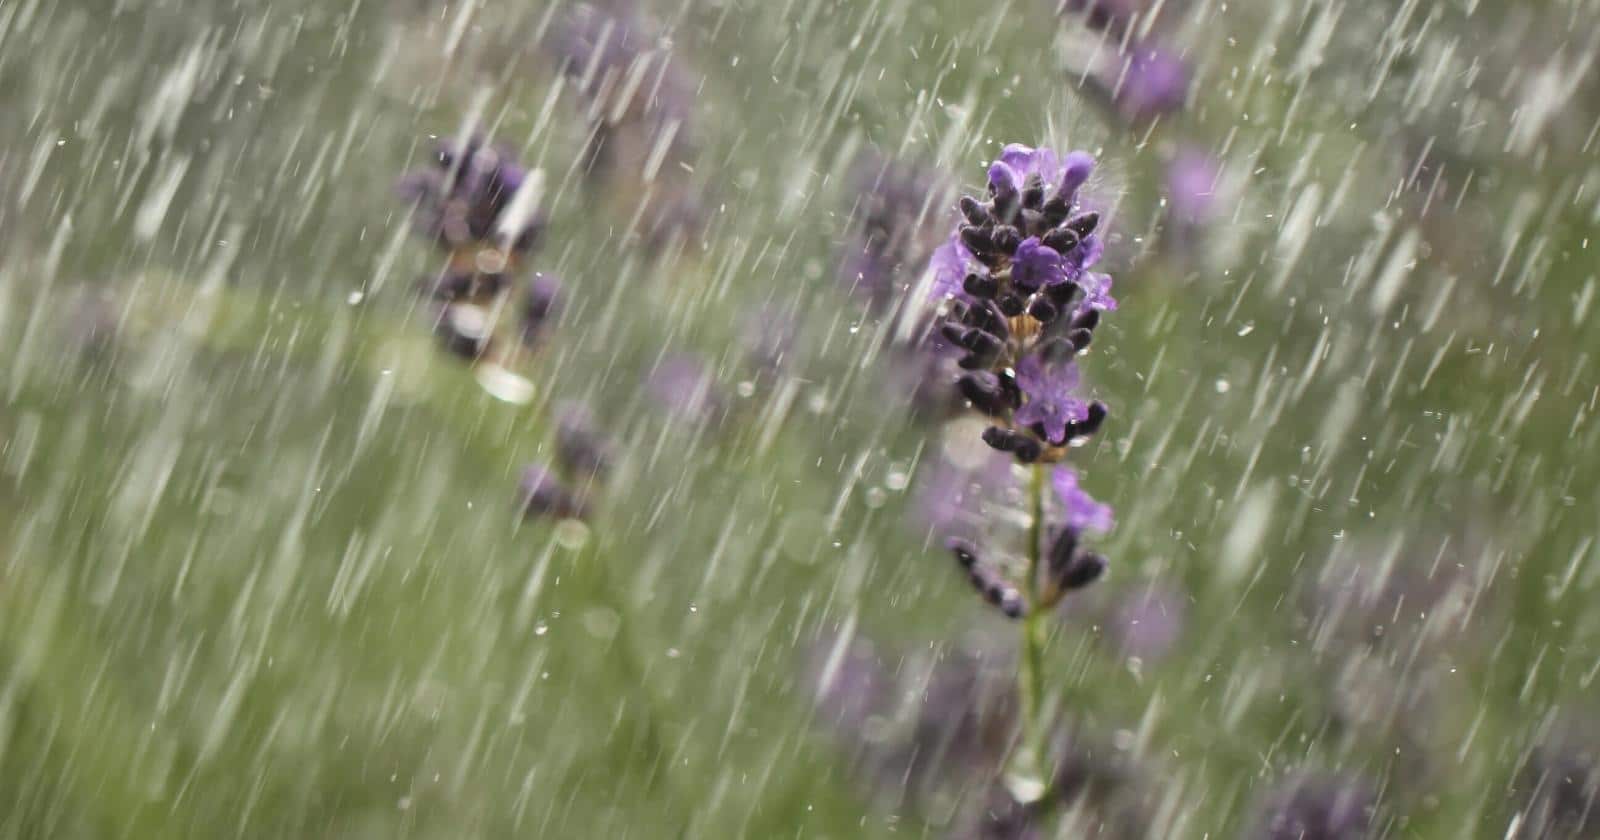
If you live in a humid or wet climate, growing lavender can be a bit more difficult. This arid plant resents having moisture sit on its leaves or clogging up its roots.
The best ways to prevent fungal diseases in lavender include:
- Provide adequate spacing for plenty of airflow (2-4 feet between plants)
- Plant in a breezy part of the garden
- Prune properly
- Avoid overwatering (yellowing leaves are a common sign)
- Amend soil with sand, peat, perlite, or compost to ensure proper drainage
- Double dig soil to loosen before planting
- Mulch with shredded bark or pea gravel to prevent splashing water from going up onto the foliage
- Never use overhead irrigation (water at the base with a hose or use drip lines)
- Choose disease-resistant Spanish for French varieties for humid climates, for example ‘Phenomenal’, ‘Winter Bee’, or ‘Ghostly Princess’
Lavender Grows Best With a Little Neglect
Planting and establishing lavender takes some attention and care. However, once the plants are well-rooted, they actually thrive on neglect. As long as you properly prepare a well-drained soil, plenty of sunshine, and plenty of airflow, you can let your lavender chill for the rest of the time.
In spite of their delicate, pretty blooms, these perennial herbs are remarkably hardy. Too much water or fertility can actually hinder their growth.
Choose the Right Cultivar for Your Climate
There are 45 different species and over 450 varieties of lavender, each with their own qualities and preferences. Aside from the gorgeous array of colors, aromas, shapes, sizes, and growth habits, there is a vast diversity of lavenders adapted to specific growing regions.
Choosing the right cultivar for your climate is one of the most important steps for growing an epic lavender garden.
Wrap Up
If you stick to these tips, you should have a flourishing lavender garden in no time! Whether you’ve decided to grow lavender in containers, or want a large lavender field in your garden, these tips should help you along the way. Once you’ve picked the right varieties for your needs, it’s time to start planting and get your lavender in the ground!

Leave a comment